How to order our custom temporary tattoos: A complete guide
Interested in joining the world's leading print on demand platform?
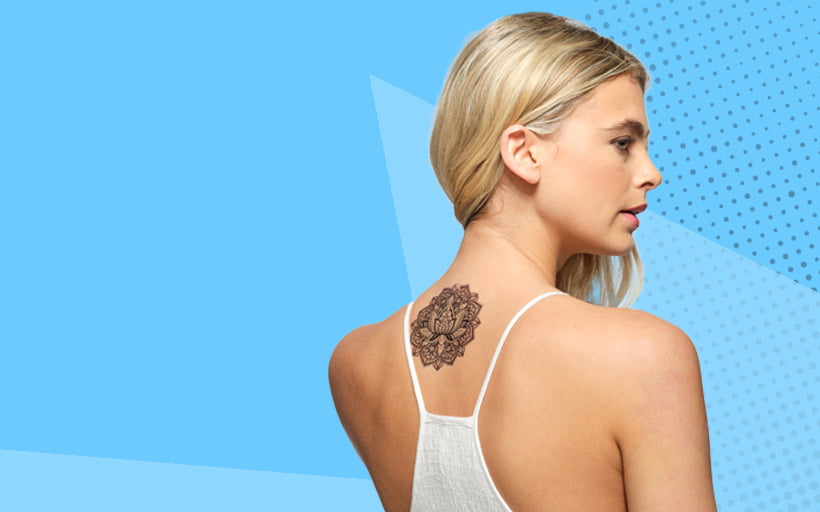
Thinking about creating and selling custom temporary tattoos online? Our handy order guide includes step-by-step instructions on everything from prepping your tattoo designs for printing to placing an order for our temporary tattoos. So, let’s get stuck on, er, in…
Before you start
- Create your free account — it takes less than one minute, and you only pay for what you sell.
- Order a temporary tattoo sample through our manual order form. If it’s your first time placing an order for our print on demand tattoos, we’ll give you a 50% refund.
- Generate pricing and shipping information in just a few clicks with our pricing and shipping tool.
Preparing your artwork
In order to turn your digital designs into personalised temporary tattoos, you’ll first need to make sure that they meet our temporary tattoo file requirements:
- The optimum resolution for tattoo print files is 300dpi, while the minimum resolution is 200dpi.
- Unlike our personalised stickers, no padding is required for our custom temporary tattoos. We’ll generate the cut outline based on the outer edges of your design.
-
Single tattoo designs with gaps between elements should be grouped together with white pixels to prevent them from being produced as separate tattoos (see below for examples). Any white areas will be completely clear when the tattoo is applied and therefore not visible on the skin.
Example of a temporary tattoo design without white pixels between elements:

As a result, this tattoo will end up with a cut outline similar to the one below. As you can see, even with the additional tolerance we automatically add to allow for cutting, many of the letters remain separate. This may cause problems for your customer when it comes to applying the tattoo.

Example of a temporary tattoo design with white pixels between elements:

As a result, this tattoo will end up with a cut outline similar to the one below. The addition of white pixels between each element means this design will be produced as a single tattoo, making it much easier to apply.

- Save your print file as a transparent PNG.
- You can use our mockup generator to create downloadable product previews of your temporary tattoos.
- The table below outlines the maximum printable area for all five sizes of our print on demand tattoos, as well as the minimum, optimum and maximum pixel dimensions for each, as well as the optimum and minimum pixel dimensions for each.
| Size | Dimensions | Maximum printable area | Optimum pixel dimensions | Minimum pixel dimensions |
|---|---|---|---|---|
| Small (S) | 2x3” / 50x76mm | 2x3” / 50x76mm (no padding) | 590x885 | 400x600 |
| Medium (M) | 3x4” / 76x101mm | 3x4” / 76x101mm (no padding) | 885x1181 | 600x800 |
| Large (L) | 4x6” / 101x152mm | 4x6” / 101x152mm (no padding) | 1181x1771 | 800x1200 |
| Extra large (XL) | 8x8” / 203x203mm | 8x8” / 203x203mm (no padding) | 2362x2362 | 1600x1600 |
| Extra extra large (XXL) | 12x12” / 304x304mm | 12x12” / 304x304mm (no padding) | 3543x3543 | 2400x2400 |
How to order personalised temporary tattoos through our manual order form
- Log in to your Prodigi account.
- Click ‘Create order’.
- Select the country you want us to ship your custom temporary tattoos to. You can choose from our most popular shipping destinations shown at the top of the page or use the search bar to browse all countries.
-
Find the product you’d like to order by typing ‘Tattoos’ into the search bar or using the SKU prefix
GLOBAL-TATT. Our temporary tattoos come in five different sizes (small, medium, large, extra large and extra extra large).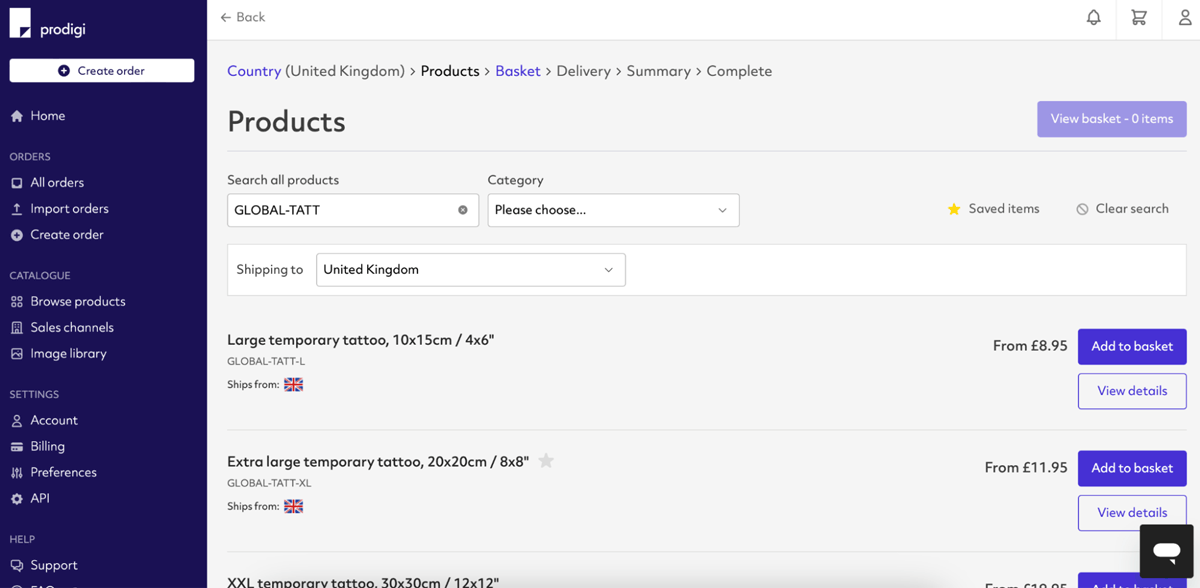
- Click the ‘Add to basket’ button next to the product you want to order. To add another item to your basket, click ‘Add another product’ and repeat step four.
- Click ‘Add image’ and upload the print file you created earlier. Your image will be saved to your image library automatically.
- To configure your image, click ‘Edit’. You’ll then be redirected to our image editor where you can check the print quality of your image and make use of our alignment, scaling and repositioning tools.
- Once you’re happy with the position and placement of your image, click ‘Save’ and then ‘Continue’.
- Fill in the details of your shipping destination address, then click ‘Continue’.
- Review your order summary. If everything looks correct, click ‘Submit order’.
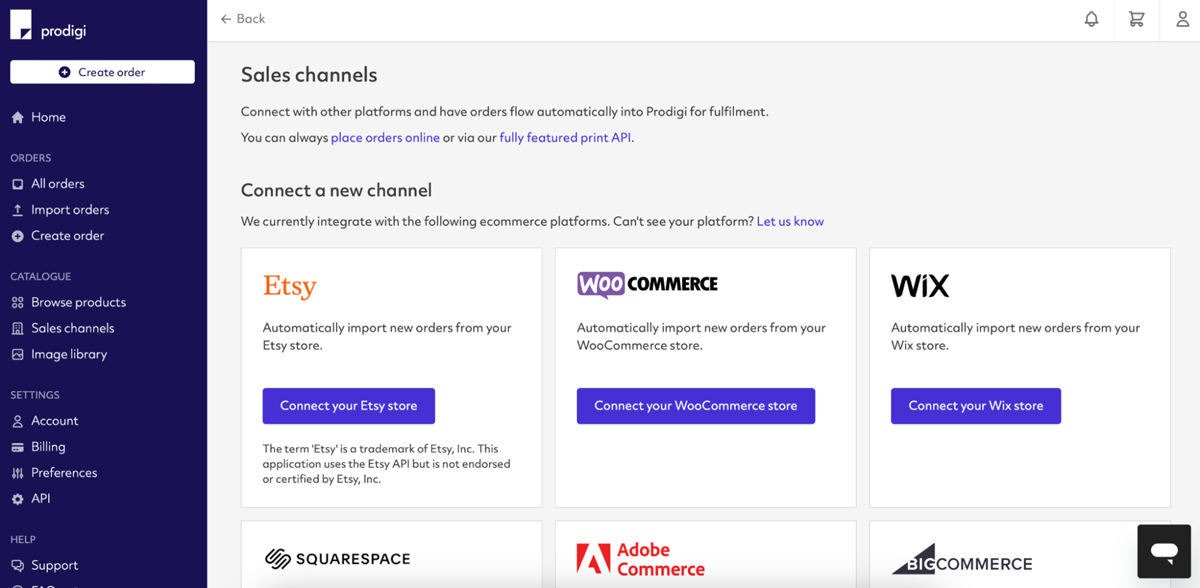
How to order personalised temporary tattoos through our sales channel integrations
- Create a listing in your sales channel (Etsy, Wix, Squarespace, WooCommerce, BigCommerce or Adobe Commerce) for your temporary tattoo.
- Log in to your Prodigi account.
- Select ‘Sales channels’ from the menu on the left-hand side.
-
If you’ve already connected your sales channel, click ‘Configure’ in the sales channel tile. If not, connect your store to the desired sales channel, then follow the on-screen instructions.
- After clicking ‘Configure,’ you’ll see all of the product listings from your sales channel. Locate the temporary tattoo product you want to set up for fulfilment with Prodigi. Ensure the toggle is set to ‘Fulfilled by Prodigi,’ then click ‘Configure’ next to the toggle switch.
- To set up your product for fulfilment with Prodigi, first select the product you want to configure for your sales channel listing. For a temporary tattoo, you can either type ‘Tattoos’ into the search bar or use the SKU prefix
GLOBAL-TATT. Our temporary tattoos come in five different sizes (small, medium, large, extra large and extra extra large). - Next, you’ll be prompted to add an image. Click ‘Add image’, then upload a file from your device, Dropbox or your Prodigi image library. You can check the print quality of your image and make use of our alignment, scaling and repositioning tools. Once you’re happy with your image, click ‘Save’.
- When an order is received in your sales channel, Prodigi will automatically fulfil it. If you'd like to review orders before they are fulfilled, you can use our order pausing feature to pause and edit your orders by navigating to ‘Settings > Preferences’ in your dashboard.
If you’d like to sell custom temporary tattoos via our print API, please contact sales@prodigi.com.
If you like our custom temporary tattoos, you’ll love our personalised stickers. Both products have very similar print file requirements, so applying your tattoo designs to our stickers couldn’t be easier!
Products in this article
Further reading
-
How to source a designer for your merchandise
5 February 2020
-
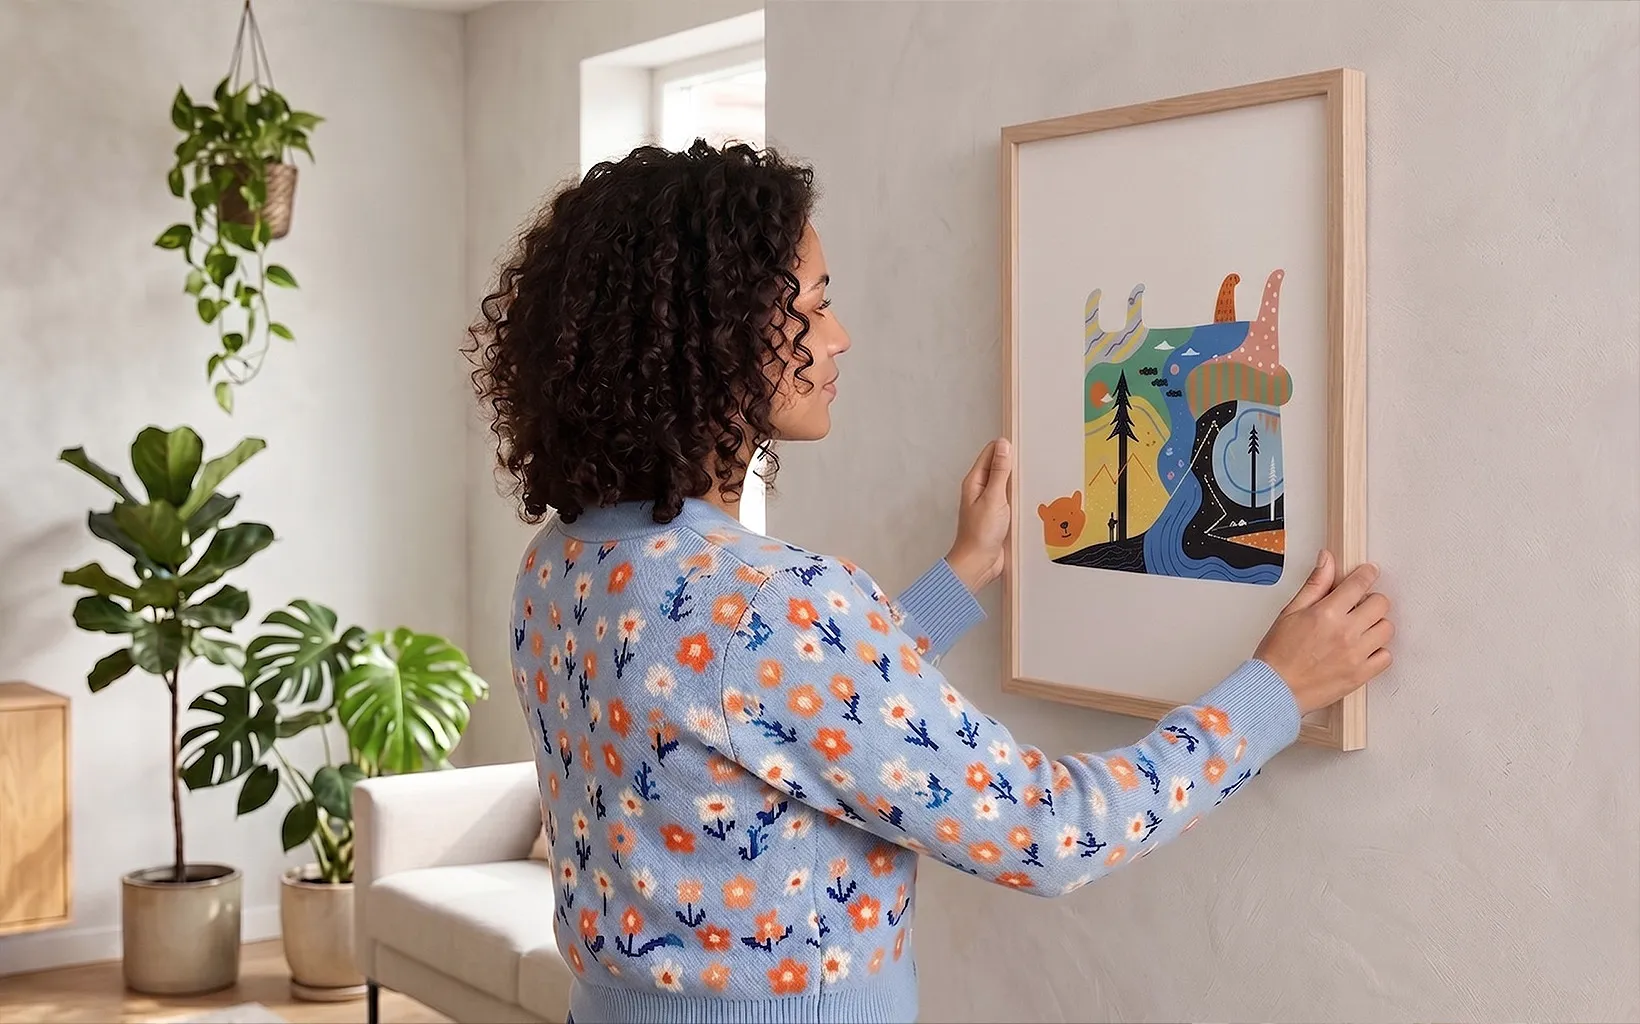
How to hang a picture: A guide to hanging frames & canvas prints
22 April 2026
-
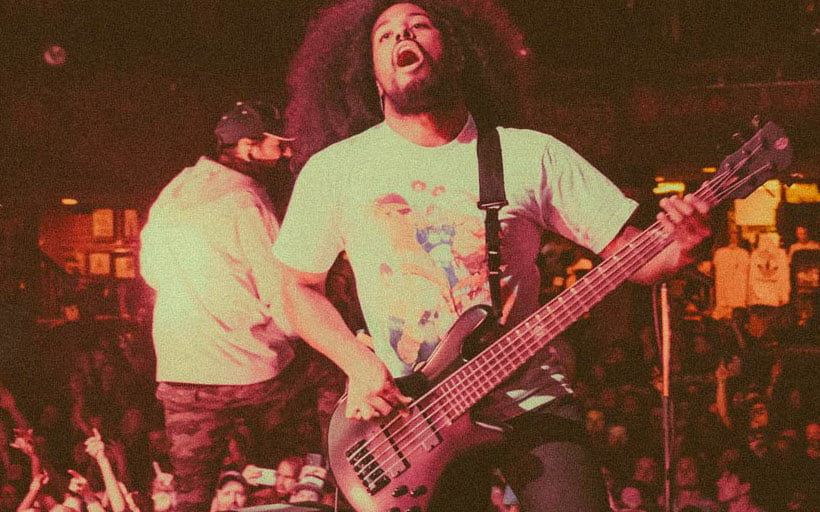
How to create and source designs for your band merchandise
27 July 2020
-

Sourcing custom merchandise ideas & designs
12 July 2019