How to create custom glow in the dark art with Prodigi

Interested in joining the world's leading print on demand platform?
Want to create your own glow in the dark art? Check out our step-by-step guide on how to prepare your designs for custom glow in the dark printing and how to place an order for our exclusive glow in the dark posters and framed glow in the dark prints.
Before you start
- Create your free account — it takes less than one minute, and you only pay for what you sell.
- Order a glow in the dark print sample through our manual order form. If it’s your first time placing an order for our glow in the dark wall art, we’ll give you a 50% refund.
- Generate pricing and shipping information in just a few clicks with our pricing and shipping tool.
Preparing your artwork
In order to turn your digital designs into your very own glow in the dark art, you’ll first need to make sure that they meet our glow in the dark printing file requirements:
- The optimum resolution for glow in the dark print files is 300dpi, while the minimum resolution is 200dpi.
- Any areas defined as white (hex value
#FFFFFF) or transparent (no colour information at all) in your artwork will emit a luminous green-blue glow. Light colours (those that are neither completely white or transparent) may cause unpredictable results (i.e., the glow effect may not be as strong). However, you’re welcome to test the results yourself by placing a sample order. - Save your print file as a transparent PNG.
- Please note that to activate the glow in the dark elements in your design, artwork should be exposed to 30 minutes of bright or natural light, before being displayed in a completely dark room. The more light charge your glow in the dark prints receive, the brighter they’ll glow. Eventually, the glow will begin to fade, indicating that more light charge is needed.
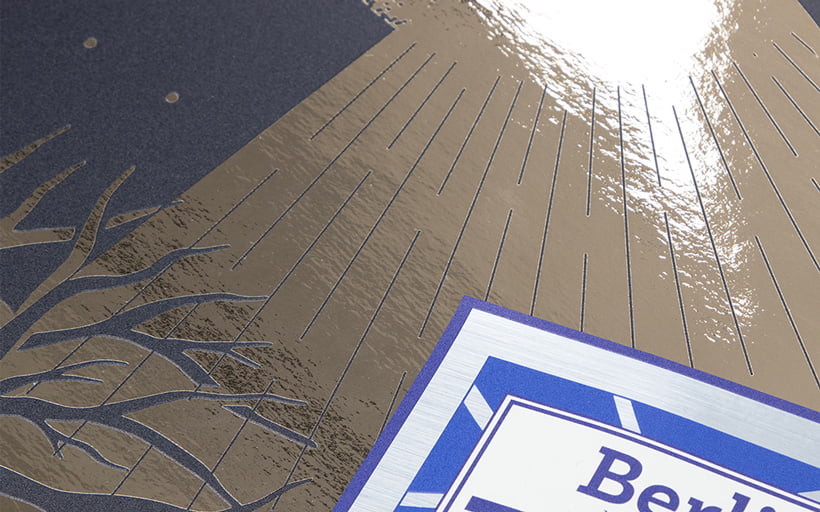
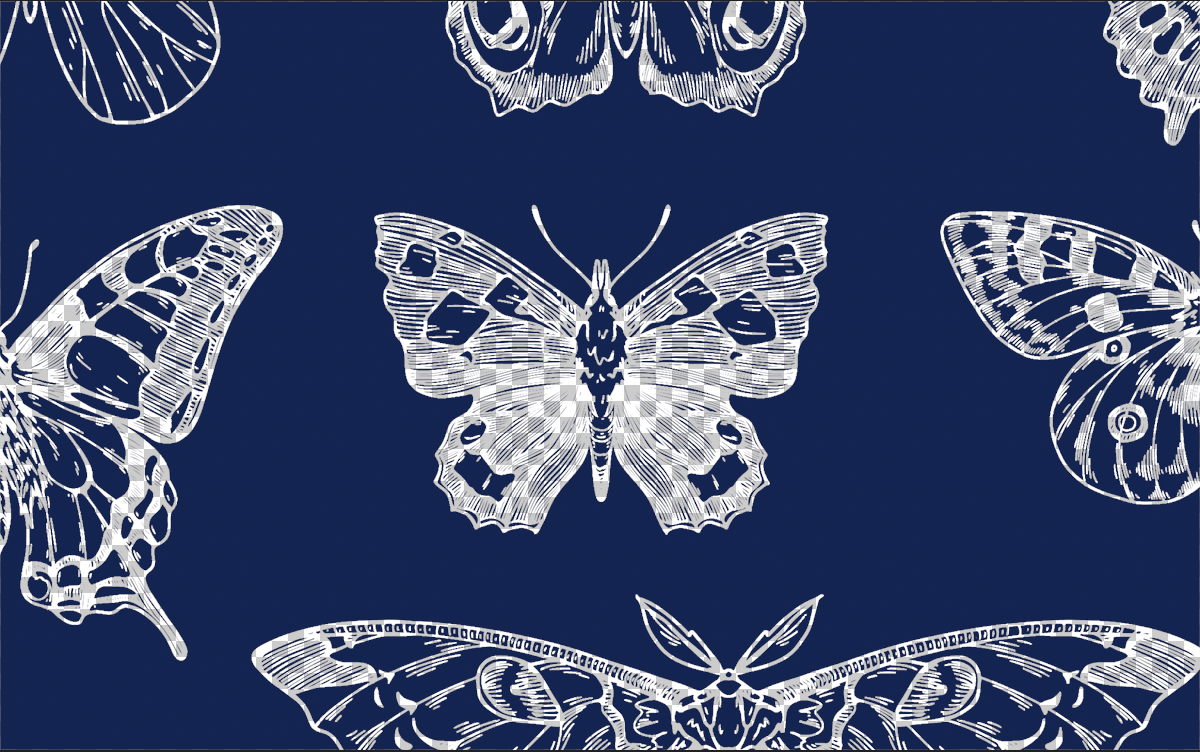 Example of image file with transparent areas
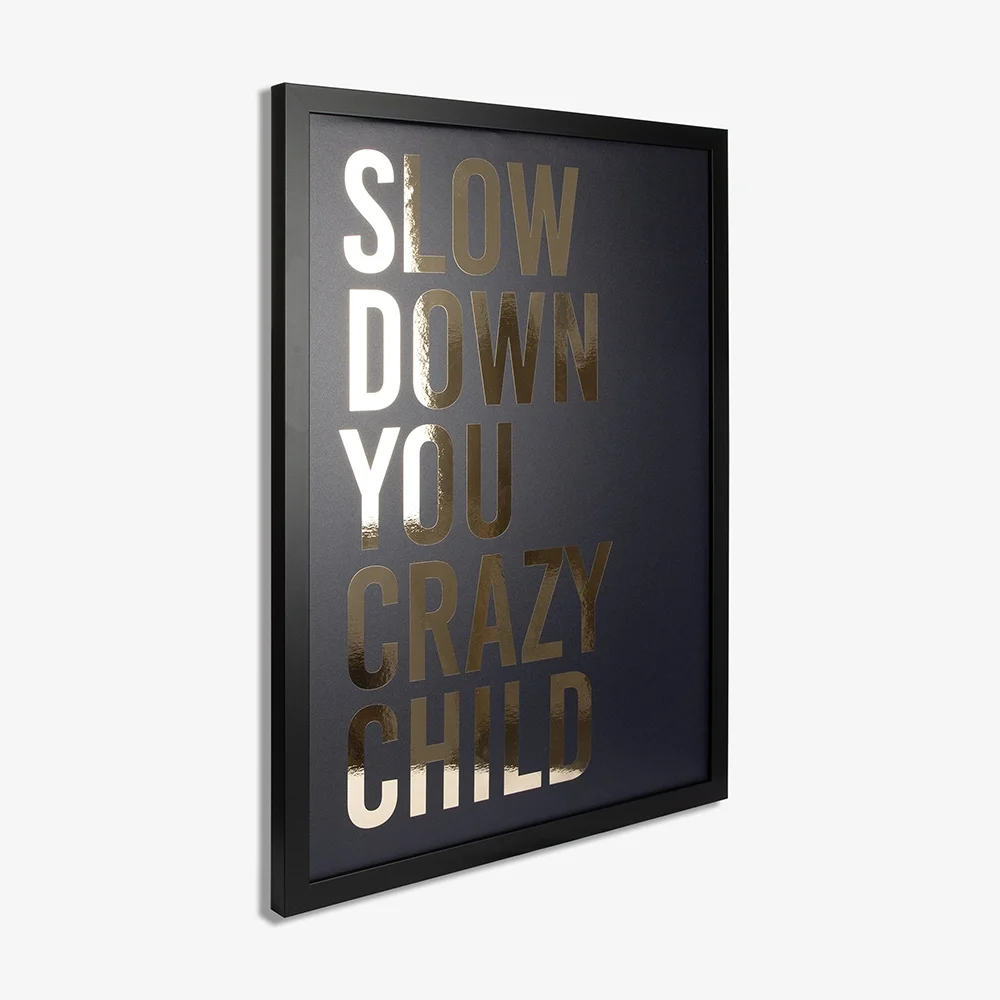
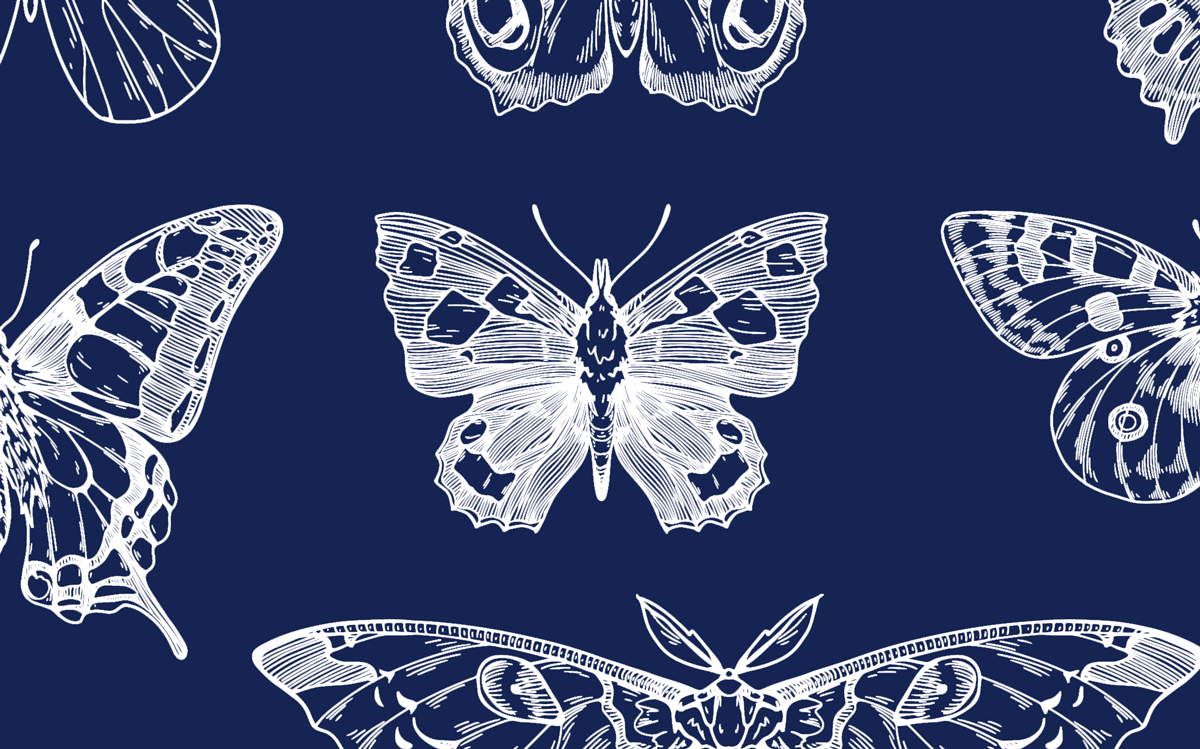 Example of image file with white areas
How to order glow in the dark posters and framed glow in the dark prints through our manual order form
- Log in to your Prodigi account.
- Click ‘Create order’.
- Select the country you want us to ship your glow in the dark wall art to. You can choose from our most popular shipping destinations shown at the top of the page or use the search bar to browse all countries.
- Find the product you’d like to order by typing ‘Glow in the dark’ into the search bar or using one of the following SKU prefixes:
ART-GITD(glow in the dark posters, delivered rolled and ready to frame)FRA-CLA-GITD(glow in the dark posters, delivered ready to hang in our classic frame)FRA-BOX-GITD(glow in the dark posters, delivered ready to hang in our box frame)
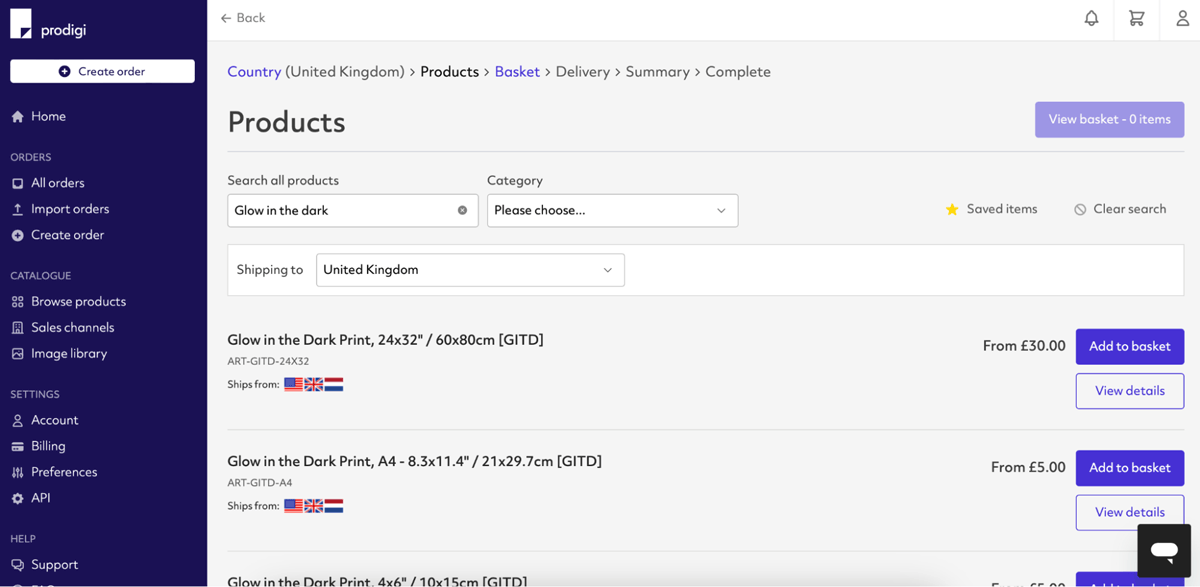
- Click the ‘Add to basket’ button next to the product you want to order. To add another item to your basket, click ‘Add another product’ and repeat step four.
- Click ‘Add image’ and upload the print file you created earlier. Your image will be saved to your image library automatically.
- To configure your image, click ‘Edit’. You’ll then be redirected to our image editor where you can check the print quality of your image and make use of our alignment, scaling and repositioning tools.
- Once you’re happy with the position and placement of your image, click ‘Save’ and then ‘Continue’.
- Fill in the details of your shipping destination address, then click ‘Continue’.
- Review your order summary. If everything looks correct, click ‘Submit order’.
How to order glow in the dark posters and framed glow in the dark prints through our sales channel integrations
- Create a listing in your sales channel (Etsy, Wix, Squarespace, WooCommerce, BigCommerce or Adobe Commerce) for your glow in the dark art.
- Log in to your Prodigi account.
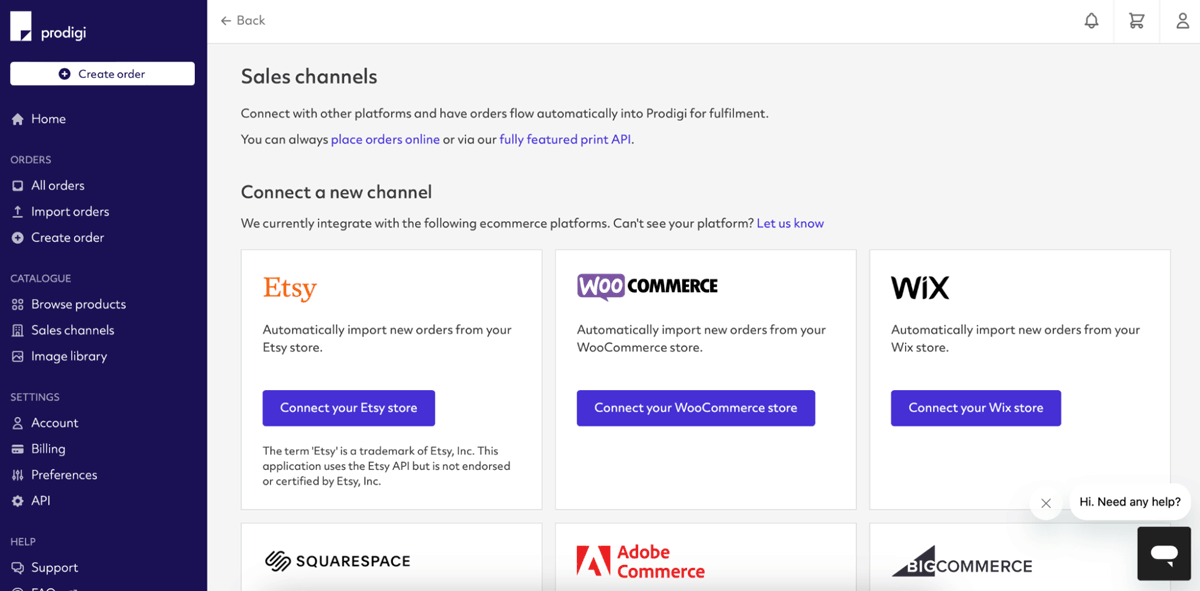
- Select ‘Sales channels’ from the menu on the left-hand side.
-
If you’ve already connected your sales channel, click ‘Configure’ in the sales channel tile. If not, connect your store to the desired sales channel, then follow the on-screen instructions.
- After clicking ‘Configure,’ you’ll see all of the product listings from your sales channel. Locate the glow in the dark product you want to set up for fulfilment with Prodigi. Ensure the toggle is set to ‘Fulfilled by Prodigi,’ then click ‘Configure’ next to the toggle switch.
-
To set up your product for fulfilment with Prodigi, first select the product you want to configure for your sales channel listing. Find the product you’d like to order by typing ‘Glow in the dark’ into the search bar or using one of the following SKU prefixes:
ART-GITD(glow in the dark posters, delivered rolled and ready to frame)FRA-CLA-GITD(glow in the dark posters, delivered in our classic frame and ready to hang)FRA-BOX-GITD(glow in the dark posters, delivered in our box frame and ready to hang)
- Next, you’ll be prompted to add an image. Click ‘Add image’, then upload a file from your device, Dropbox or your Prodigi image library. You can check the print quality of your image and make use of our alignment, scaling and repositioning tools. Once you’re happy with your image, click ‘Save’.
- When an order is received in your sales channel, Prodigi will automatically fulfil it. If you'd like to review orders before they are fulfilled, you can use our order pausing feature to pause and edit your orders by navigating to ‘Settings > Preferences’ in your dashboard.
If you’d like to sell your own glow in the dark wall art via our print API, please contact sales@prodigi.com.
Check out our range of specialist prints for more products like our glow in the dark art, including our popular foil prints.
Products in this article
Further reading
-

The art of colour matching: A beginner’s guide to colour profiles
15 June 2022
-
Shiny new metallic foil prints for your wall art store
16 March 2023
-

The top 5 personalized gifts to sell in 2023
26 January 2023
-

Unique Valentine’s Day gifts for your online store
18 January 2023