How to create and sell custom products online with Prodigi

Tags
Interested in joining the world's leading print on demand platform?
Want to make money from your designs? Enter, print on demand. A quick and easy way to turn your artwork, illustrations or photographs into custom products that can be sold and dropshipped anywhere in the world, print on demand enables anyone to launch and scale an online business from the comfort of their own home.
And while the thought of starting your own business might seem daunting, the good news is that starting your own print on demand business is completely risk-free. There are no upfront costs, and you only pay for what you sell. The best part? With Prodigi, you’ll never have to buy or hold your own stock, print your own merchandise or handle your own fulfilment ever again, because we’ll do all of that for you.
The secret’s in our software. Powering our global print network — which is made up of more than 70 printers in over 10 countries and counting — it enables us to fulfil orders near your customers and reduce carbon emissions in the process. It also allows us to provide a fully white-label service, ensuring our branding doesn’t appear on any of your products.
So, ready to get stuck in? Keep scrolling to read our step-by-step guide on how to create and sell custom products online with Prodigi — from selecting and designing your first product, right through to listing and selling it.
1. Sign up to Prodigi
First up, you’ll need to register for a free Prodigi account. After registering, you can order one of our sample packs and even get 50% off your first sample order (in case you want to try your hand at a bit of product photography) — simply email your order number to support@prodigi.com, and we'll refund you.
2. Set up your online store
Next on the checklist is setting up your online store, if you haven’t already. There are lots of ways to integrate with us, depending on which ecommerce platform you plan to set up shop on. Established retailer? Integrate our products directly into your website or app with our powerful print API. Ecommerce or marketplace seller? Automate your fulfilment via our sales channel integrations, which include Shopify. Etsy, Wix, WooCommerce, Squarespace and more. Alternatively, you can submit orders straight from your Prodigi dashboard using our manual order form. We’ll be focusing on the latter in this blog post. \
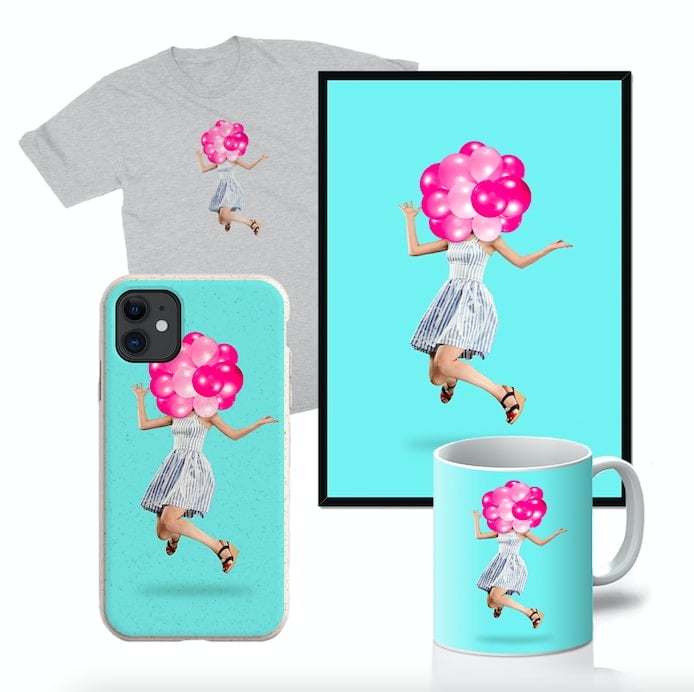
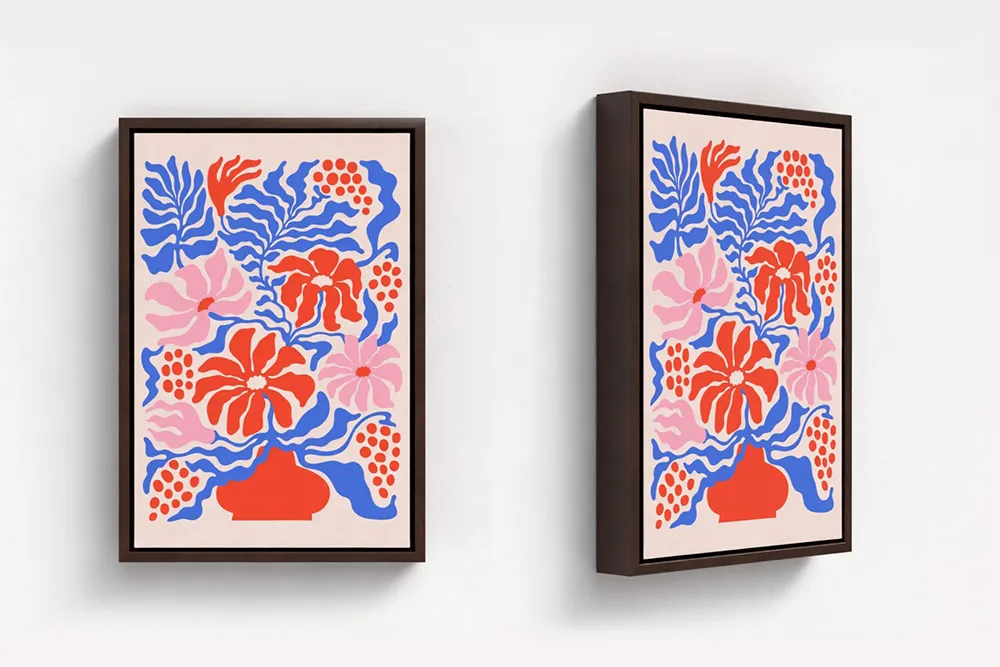
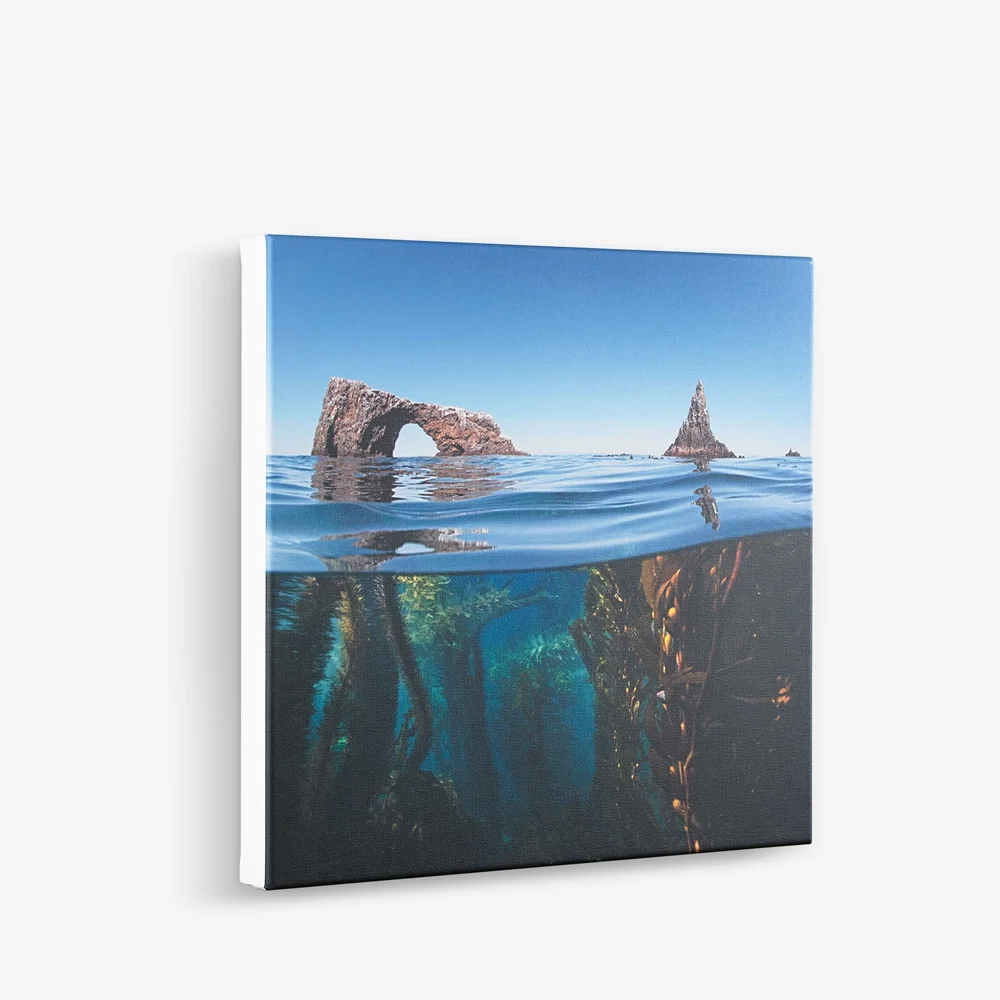
3. Pick your products
Now for the exciting part: picking the products you want to sell in your store! And with more than half a million print on demand products to choose from, you’ll be spoilt for choice — we’re talking canvas, fine art prints, homeware, apparel and more. We even have an eco collection for those looking to sell more sustainably, as well as a range of global products cloned in various locations all over the world to ensure consistency, wherever your customers are.
4. Digitise your designs
For this next step, you’ll need to digitise any hard-copy designs you want to use by scanning them to a computer. Once you’ve converted them to digital images, it’s time to optimise your images files. To start, download the print templates for your chosen custom products and open them in an image editor like Photoshop or InDesign, before following the guidance on the print templates themselves* — if you’d prefer to use a free design tool, then check out GIMP or Inkscape instead. Read our guide on how to prepare the perfect print on demand file for more tips!
* As a general rule, we recommend saving your images as JPEG or PNG files with a print resolution of 300 DPI (dots per inch), but be sure to always refer to each product’s individual product detail page for specific requirements.
5. Create your product mockups
Time to try out your designs on your virtual inventory! Create and download custom product mockups for your store in minutes using our product preview feature, which is loaded with a wide range of product previews, including 3D mockups, for using with your now perfectly prepared digital images. Alternatively, you can try out some other free mockup tools — such as PlaceIt, Smartmockups or [Mediamodifier] (https://mediamodifier.com/mockups/all "Mediamodifier Mockups"){:rel="external"} — and, of course, you’re always welcome to use our own photography assets.
6. List your products
Image files prepared? Check. Product mockups generated? Check. You’re officially ready to list your custom products in your print on demand store, which includes uploading your product imagery, filling in your product descriptions, setting your product prices and entering your shipping information. Just so you know, the prices we show on our website are exclusive of VAT, and you’ll also need to cover the cost of shipping your products to your customers. To sum up, though, you can charge as much as you like and keep the difference (the difference being your profit).
7. Sell your products
Once you’ve dressed your virtual shop window, you can go ahead and start selling! And if you’ve not yet mapped out your marketing strategy, then make sure you take a look at our blog posts on how to use paid advertising, social media and email to help boost your sales. Marketing strategy implemented — all that’s left to do is sit back and wait for the orders to come in…
8. Submit your orders
Received an order? Congrats! To send it to us for printing, packing and shipping, simply log in to your Prodigi dashboard, click ‘Create order’ and follow the on-screen instructions — we’ll take it from there! Watch our one-minute video tutorial to help get a better understanding of the order process before trying it for yourself.
And that’s all there is to it! Told you it was easy, didn’t we? However, if you do get stuck and need a hand with anything, feel free to drop us a line by emailing us at support@prodigi.com or contact us using the live chat function from within your Prodigi dashboard.
Start your own print on demand business with Prodigi. Sign up for a free account and get 50% off your first sample order.
Products in this article
Further reading
-

What are the real success factors to selling custom merchandise?
9 January 2020
-

Marketing for print on demand businesses — what's your story?
16 September 2020
-

How to sell on Shopify: Top 10 print on demand products
24 August 2020
-

A guide to the most successful discounts and promotions
22 May 2020