How to create print on demand wall art
Interested in joining the world's leading print on demand platform?
Wall art is one of the most reliable ways to turn a design into repeat revenue. One piece of print on demand artwork can be sold as a fine art print, upgraded to framed wall art or expanded into large canvas wall art, all without changing the core design.
By offering the same artwork in multiple formats and sizes, you can cater to different budgets, interiors and occasions, which means more listings, more opportunities to be discovered and more ways for customers to buy from you again.
This guide covers everything you need to know about creating custom wall art — from choosing between the right product types to preparing print-ready files and avoiding the most common mistakes.
Our core wall art range
Our wall art range includes three key categories.
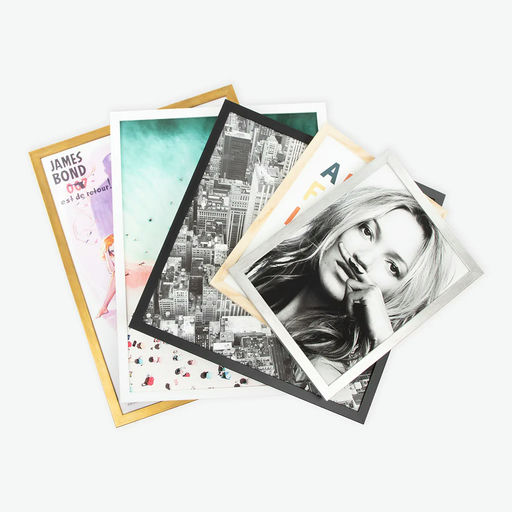
Fine art prints

Giclée prints on museum-quality papers — ideal for photography, illustration and graphic design.
Framed wall art
Handmade framed prints with protective glazing, optional mounts and multiple frame styles — delivered as a finished piece, ready to hang.
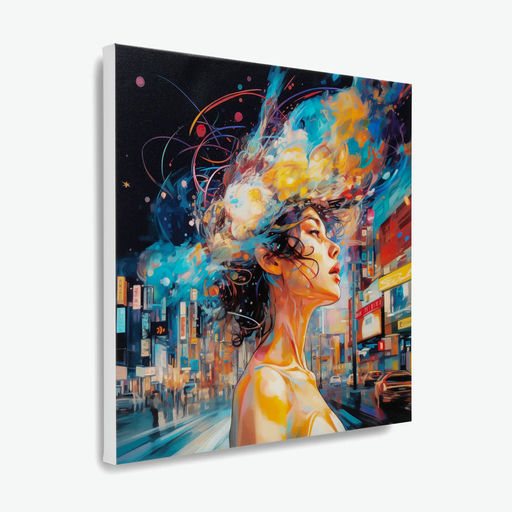
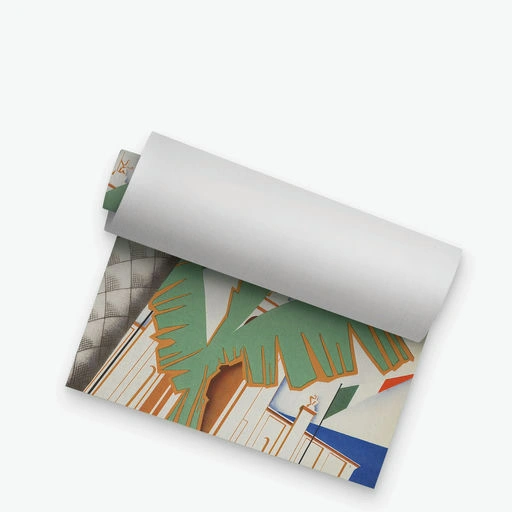
Canvas wall art
Rolled, stretched and framed canvas, including large canvas wall art up to 52.5x68" on selected variants.
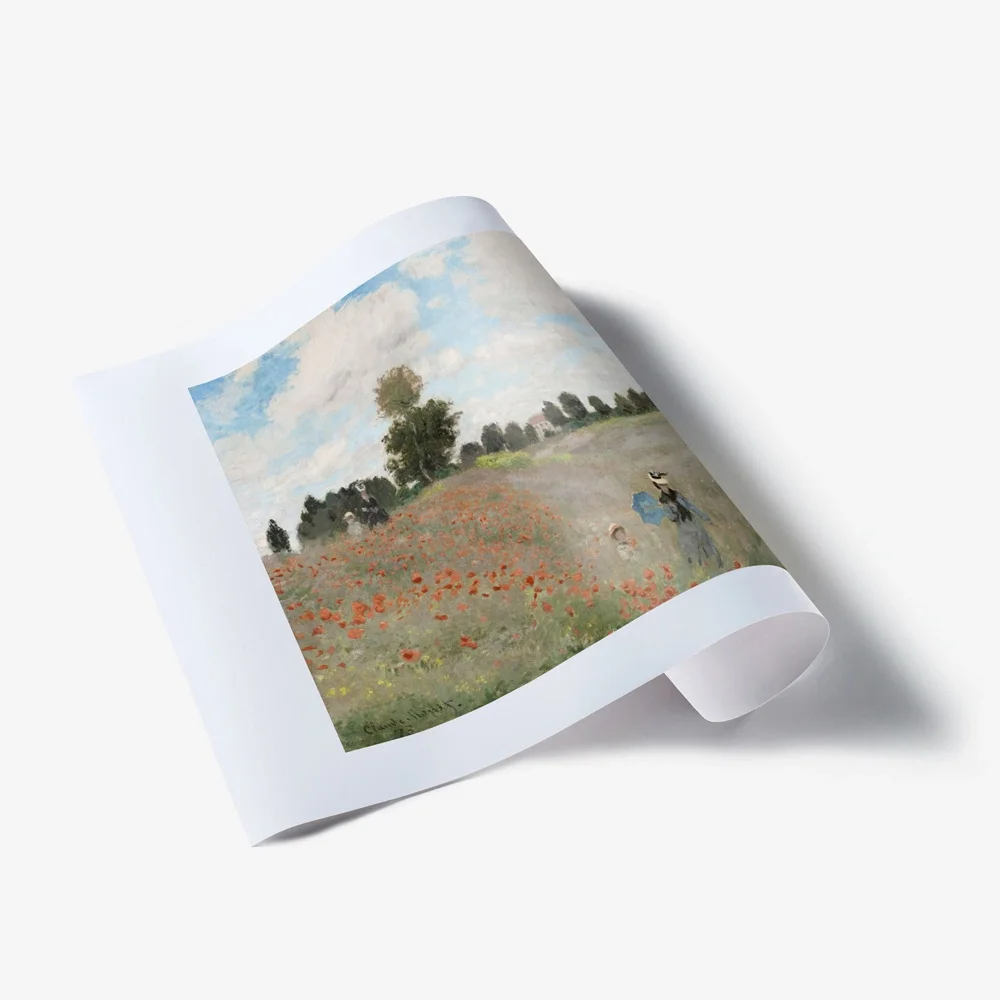
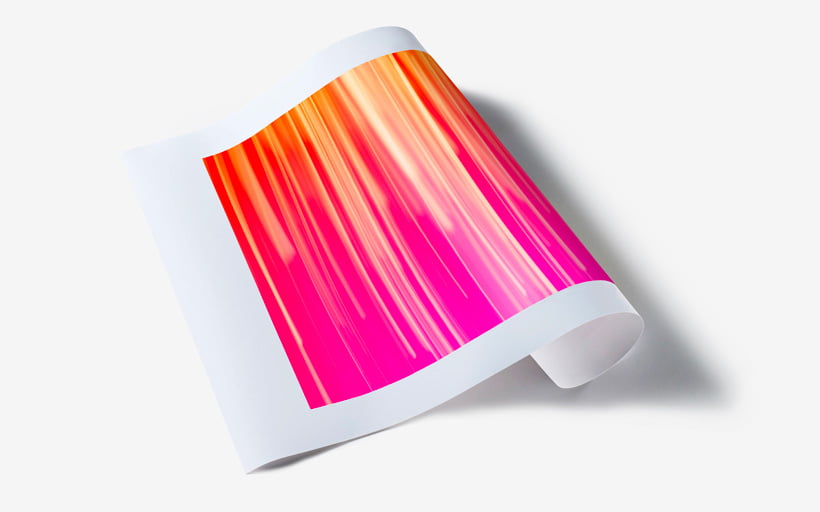
Fine art prints
Fine art prints are the most flexible way to sell custom wall art at multiple price points. They're lightweight to ship, easy to photograph for listings and come in an extensive range of sizes and finishes.
Enhanced Matte Art paper — our bestseller
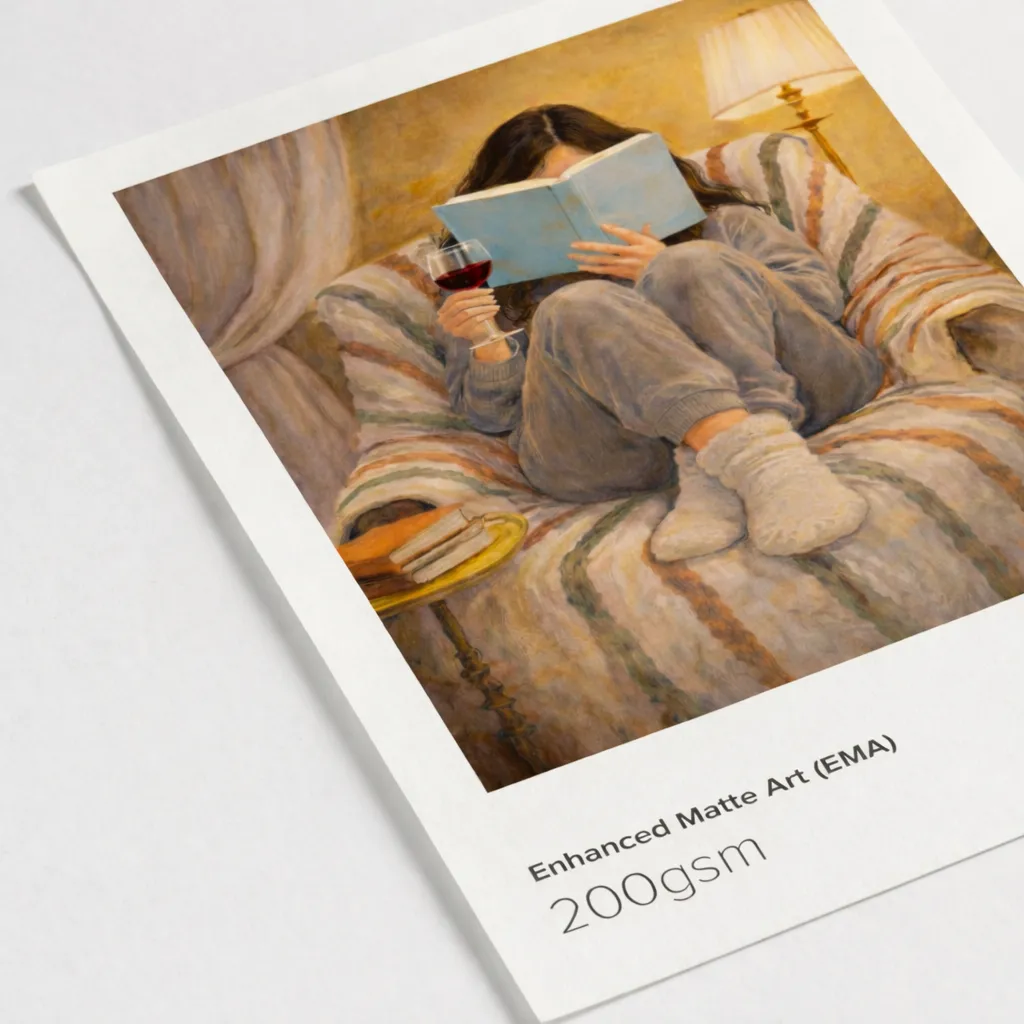
A smooth, museum-quality matte stock with zero glare that suits bold graphics, illustration and photography. Delivered rolled or flat, ready to frame.
- Sizes: 4x6" up to 100x50"
- Print method: Giclée
- File format: JPG, PNG, PDF
- Optimal DPI: 300
- Colour matching: download ICC profile from Prodigi downloads
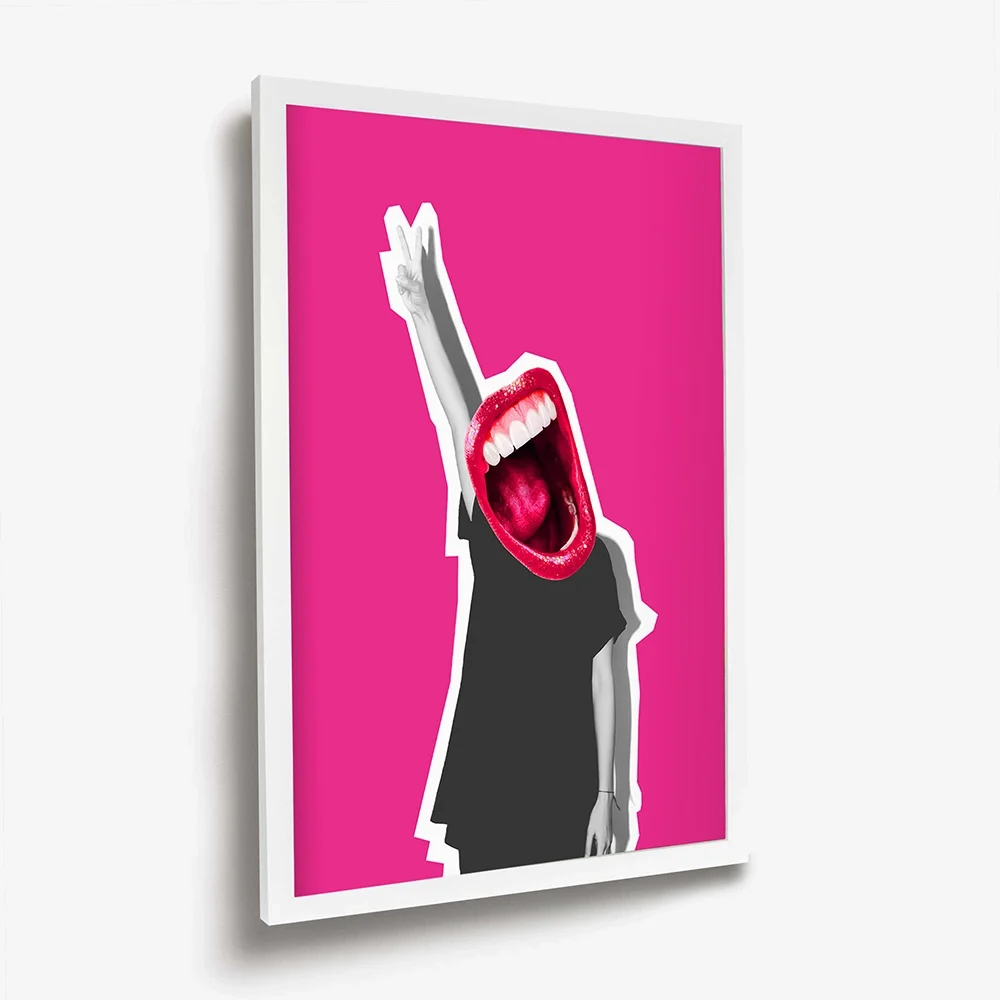
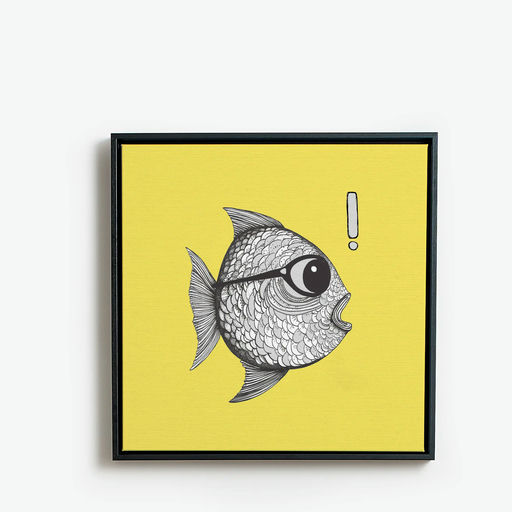
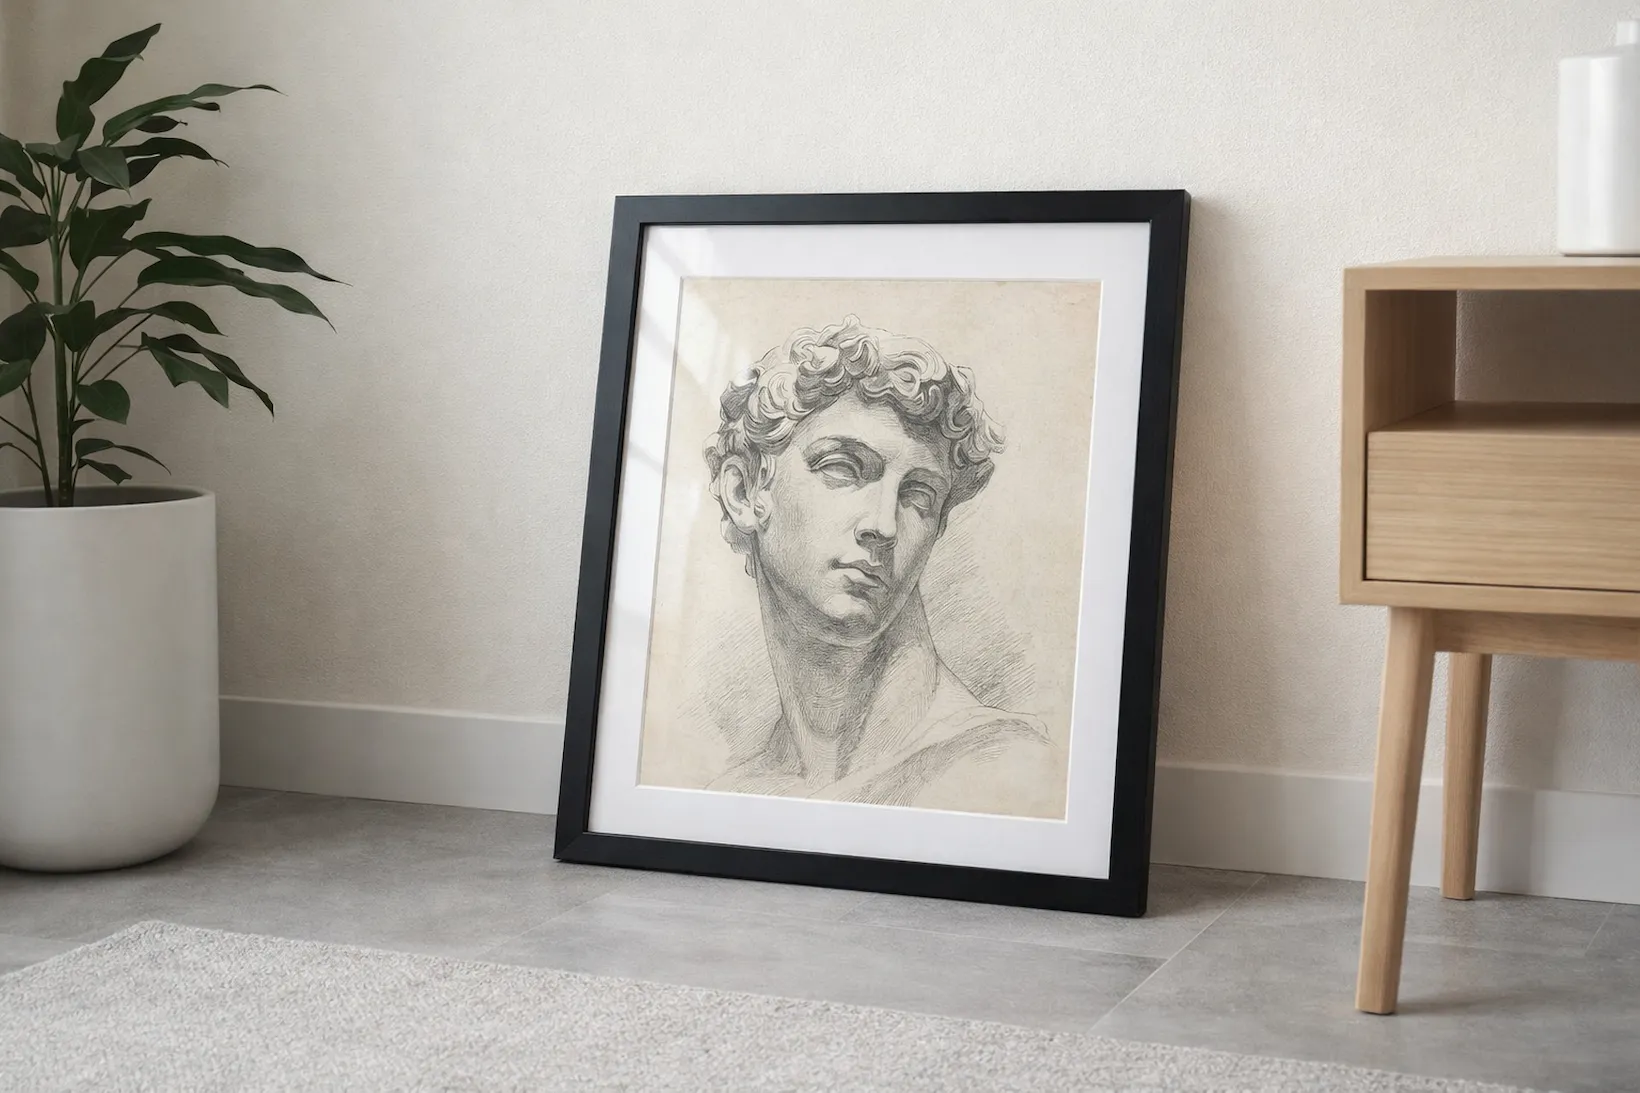
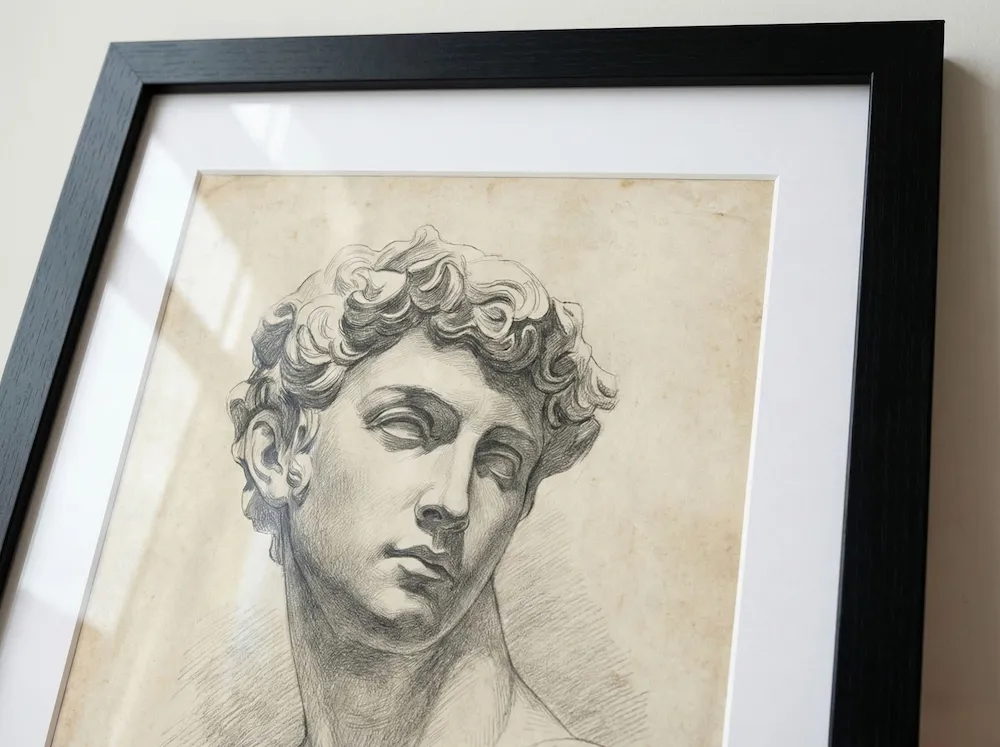
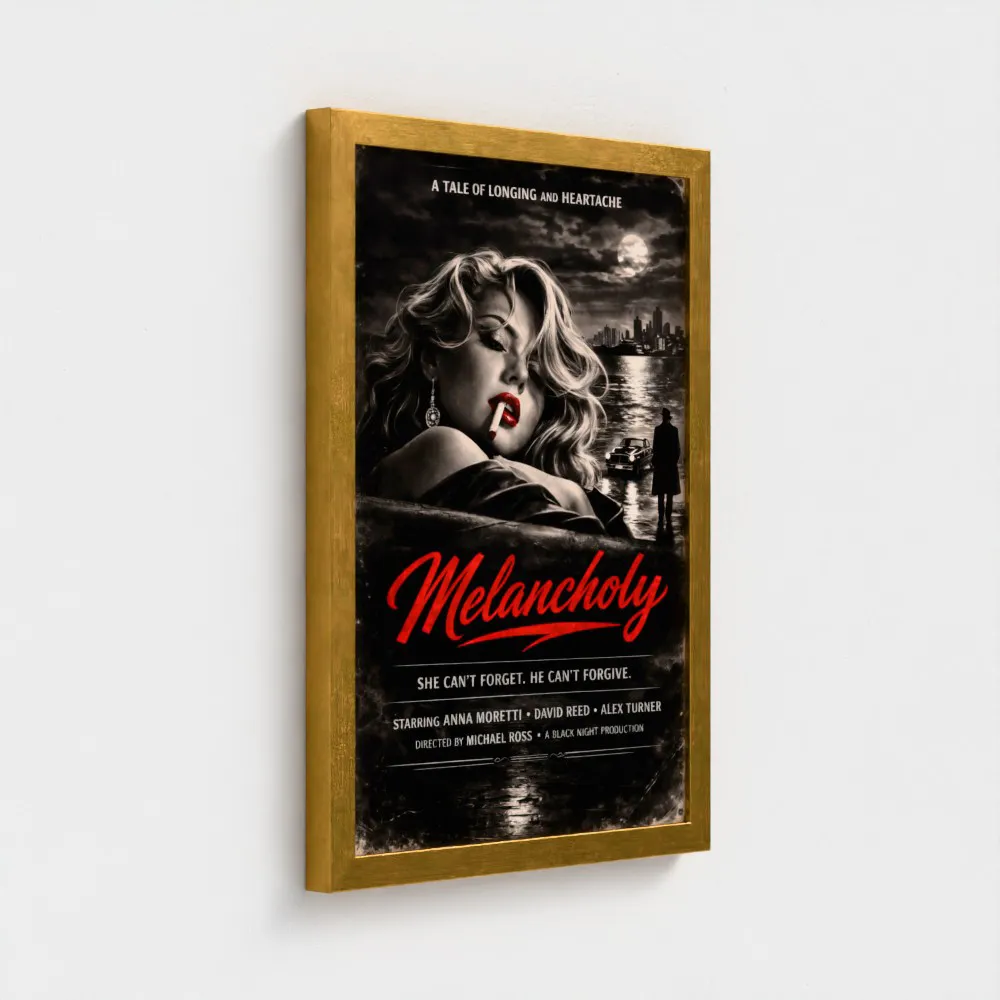
Framed wall art
Framed prints change the perception of your work instantly — customers see them as finished pieces, not just prints. They're ideal for premium positioning, particularly for styles like gold wall art where the frame colour is part of the product.
Classic framed prints — our bestseller
A consistently popular option with eight frame colours, conservation-grade mounts (optional) and Giclée printing. Delivered as a finished product, ready to hang.
- Sizes: 6x6" up to 40x40"
- Print method: Giclée
- Frame colours: 8 — Black, White, Walnut, Natural, Dark Grey, Light Grey, Gold, Silver
- Glazing options: 3 — Acrylic, Moth Eye, Float Glass (limited sizes, UK only)
- Mount colours: 3 — Black, Off White, Snow White
- File format: JPG, PNG, PDF
- Optimal DPI: 300
- Colour matching: download ICC profile from Prodigi downloads
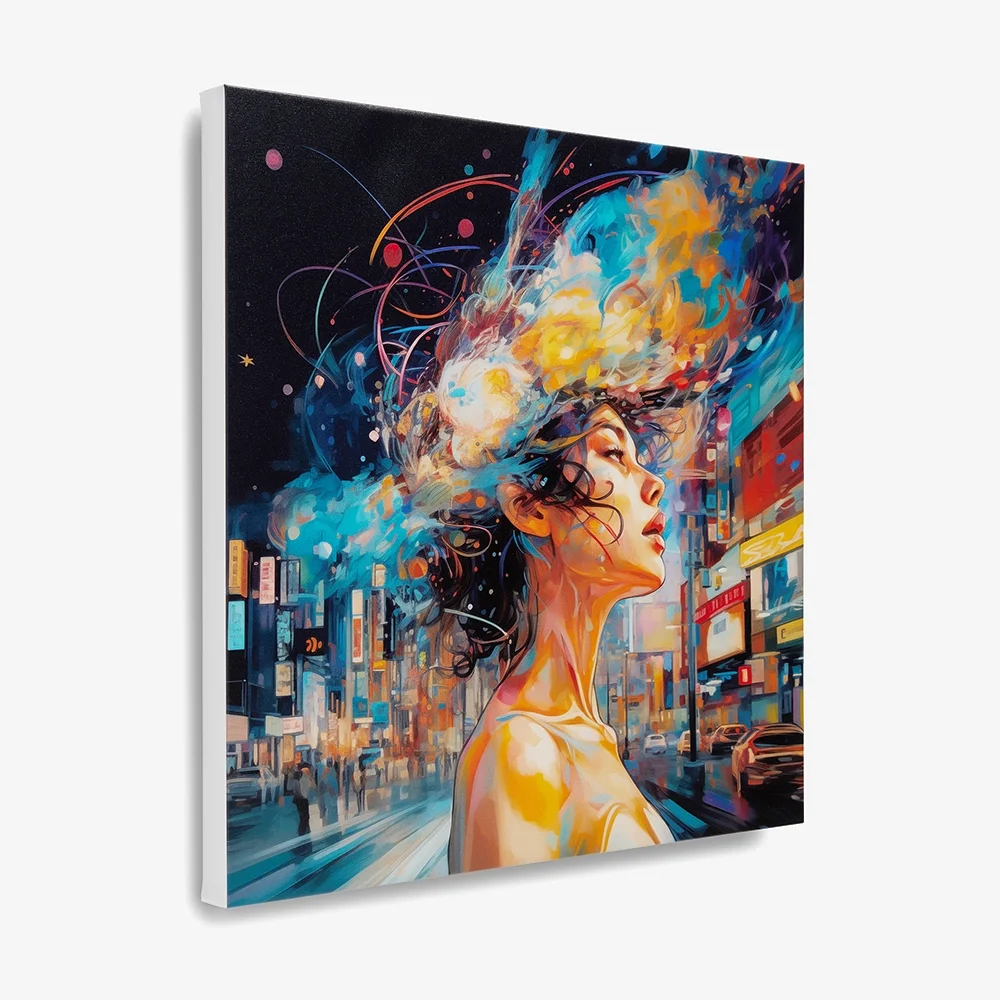
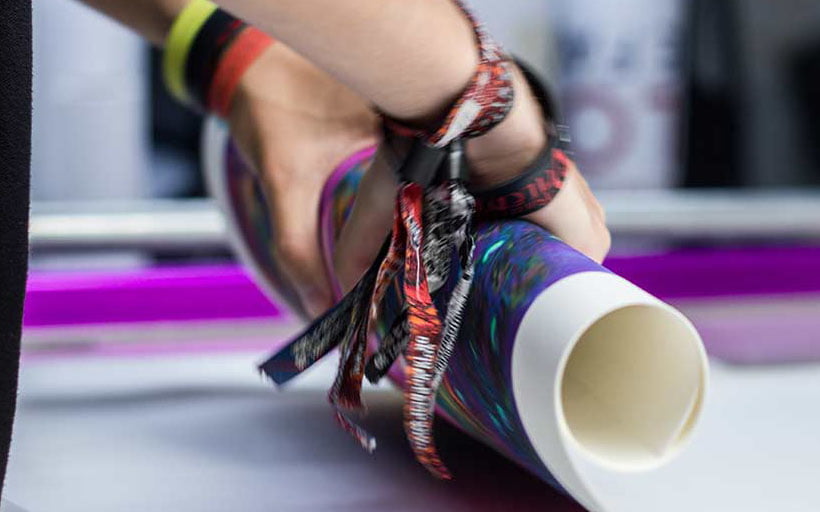
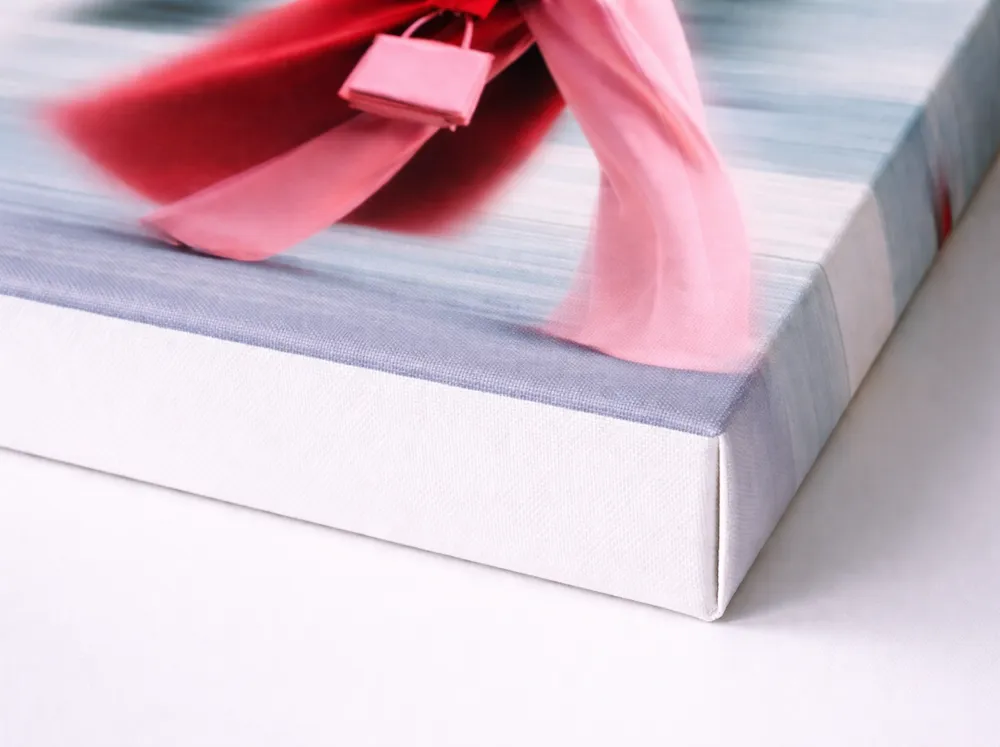
Canvas wall art
Canvas is built for impact: it adds texture and depth, scales beautifully into oversized wall art and comes in multiple formats, including stretched, rolled and framed canvas.
Stretched canvas — our bestseller
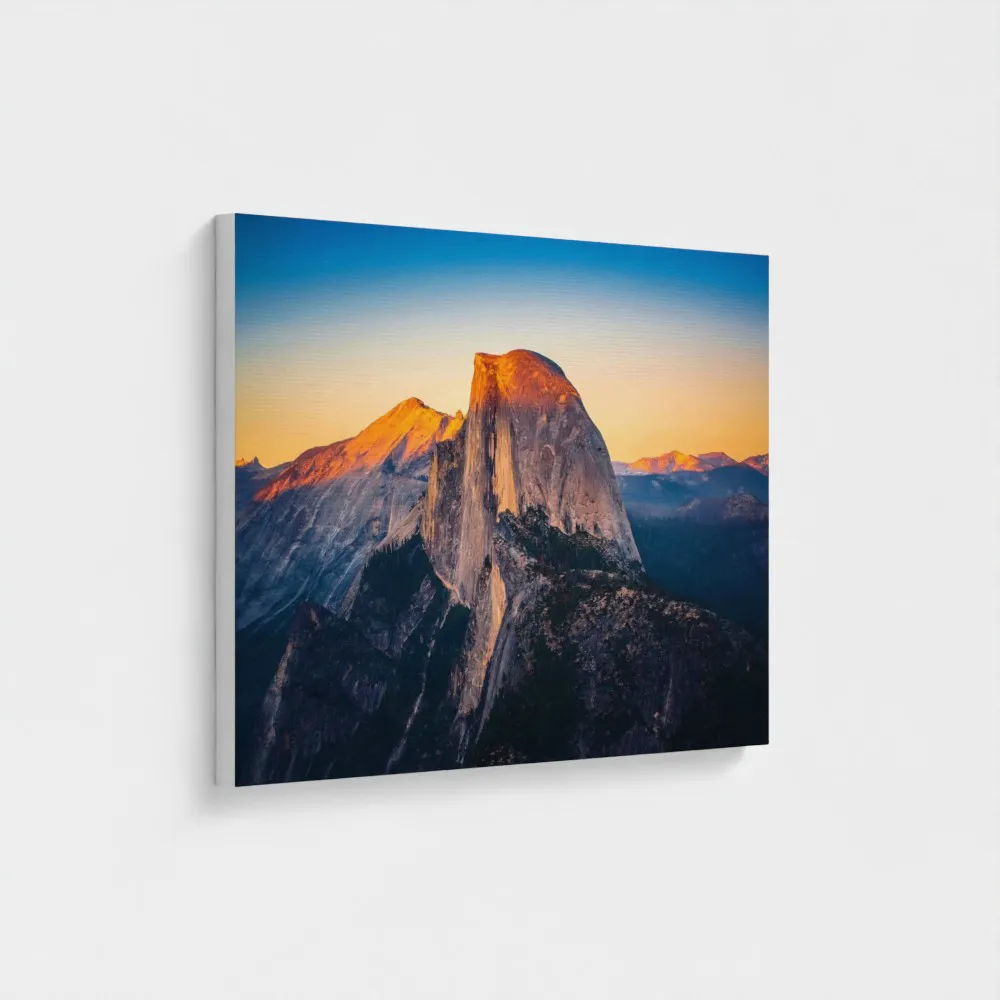
Canvas wall art stretched over a wooden frame for a clean, gallery-ready finish. Delivered as a finished product, ready to hang.
- Sizes: 4x6" up to 52.5x68"
- Substrate options: 2 — Standard Canvas (400gsm), Metallic Canvas (440gsm, UK only)
- Wrap options: 4 — Black, White, Image, Mirror
- Frame depths: 38mm, 19mm
- File format: JPG, PNG, PDF
- Optimal DPI: 300
- Colour matching: download ICC profile from Prodigi downloads
File setup specifications
Getting your files right is critical to achieving a great print result. Here are the key things to keep in mind.
Keep key details away from the edges
Different wall art formats treat edges differently, so plan your layout with a little breathing room.
Framed prints with mounts
Mounts reduce the visible image window, so keep key details — faces, text, signatures — at least 2–3mm away from the edges. Prodigi's standard mounts are 2.4mm deep, conservation grade and 100% acid free, designed not to discolour or fade with age.
Fine art prints
Allow for a 2–3mm trimming tolerance. Avoid placing important details right on the edge, as final cuts can vary slightly.
Stretched canvas with image wrap
If you choose image wrap, avoid placing faces, logos or text near the outer edge, as this area wraps around the sides of the frame. Your artwork will need extra image area to cover those sides.
19mm stretched canvas
- Total wrap area added: 1.5" to the base canvas size
- Per edge: 0.75" on each side
- Visible on edge: 0.675" (0.075" wraps to the back)
- Formula: canvas size + 1.5" = required artwork size
38mm stretched canvas
- Total wrap area added: 3.15" to the base canvas size
- Per edge: 1.575" on each side
- Visible on edge: 1.5" (0.075" wraps to the back)
- Formula: canvas size + 3.15" = required artwork size
For example, a 20x28" canvas at 38mm depth requires a total artwork size of 23.15" x 31.15" (adding 945px total — approximately 473px per edge — at 300 DPI). Keep key elements at least 1.6" from the outer edge so they stay on the front face. Always check the preview in the image editor after uploading to confirm exactly how much of your artwork will remain visible.
Optimise for colour accuracy
For the best colour results, work and export in an RGB colour space. Our downloadable colour profiles (available from Prodigi downloads) are intended for hard proofing and should be used alongside your own device or paper profiles. They are not designed for soft-proofing previews, as on-screen soft proofing can be highly inaccurate.
We strongly recommend ordering a sample print and comparing it with your artwork on screen, then adjusting as needed. If you're new to colour management, read our beginner's guide to colour profiles.
How to use Prodigi colour profiles
- Download the correct profile for your product from Prodigi downloads.
- Use it as a destination profile in your calibrated proofing workflow.
- Keep your artwork in RGB while editing.
- Do not embed Prodigi's colour profiles in your final export — they're for proofing only.
Upload the right file type
Some products have different file requirements and must be supplied as PNG at 300 DPI: foil prints and glow in the dark prints. Check the individual product pages for full guidance.
For all other wall art products, upload images that meet these requirements:
- File format: JPG, PNG or PDF
- Optimal DPI: 300
You'll find the exact recommended pixel dimensions for each product and size in the image uploader within the Prodigi dashboard. Use those dimensions when exporting, as they ensure your artwork matches the correct ratio for the variant you're ordering.
Portrait vs landscape orientation is handled automatically. Just make sure your file doesn't include EXIF rotation metadata, as this can cause the image to be interpreted with the wrong rotation on upload.
Quick setup checklist
- Log in to Prodigi, select your product from the product catalogue and click 'Order'.
- Use the recommended pixel dimensions shown to set your canvas or artboard to the exact same size and ratio.
- Keep important elements (text, faces, logos) away from the edges. If including a mount on a framed print, leave extra space as the mount will cover the outer area of the print. If including an image wrap on a stretched canvas, add the wrap allowance and keep key content on the front face.
- Export in RGB at 300 DPI. Standard wall art prints: JPG, PNG or PDF. Foil prints and glow in the dark prints: PNG only.
- Upload your file and check the preview in the image editor to confirm what will be visible.
- If available, switch on the mockup toggle to generate and download 3D mockups for your product listings.
- Click 'Save', then 'Continue', enter your shipping address, review the order summary and click 'Submit order'.
Common file preparation mistakes
Ignoring guidelines for specialist prints
Foil prints and glow in the dark prints have different requirements to standard wall art prints. If you upload the wrong file type or settings, your file may need to be corrected and resubmitted. Always check the individual product pages before uploading.
Not using the recommended DPI
Always create and export your artwork at the recommended DPI. If you upload a file that's too low in resolution, our image editor will flag it, and the final print may look soft or pixelated.
Designing too close to the edge on mounted or framed products
If you offer mounts on your framed prints, remember the visible image window is reduced. Keep important elements safely away from the edges so they don't get covered.
Unexpected borders or full-bleed assumptions
Prints and rolled canvases are produced full bleed by default — no borders are added. If your design needs a border, include it in your artwork or use the border tool in the dashboard where supported. Note that adding a border doesn't increase the paper size; it reduces the image area. On 8x12" paper, a 1" border reduces the image area to 6x10". If ordering via our print API, borders must be included in the uploaded image.
Ordering and fulfilment
Prodigi supports three ordering workflows.
Manual order form
Our manual order form provides a straightforward interface for one-off orders or small batches. This works well for personal projects, client work and sample orders.
Print API
Our print API enables full dropshipping automation. Your customers order through your platform, and Prodigi automatically receives the file and shipping details, produces the product and ships it directly to your end customer. See our API documentation to get started.
Sales channel integrations
Our direct integrations with Shopify, Etsy, Amazon, TikTok, and more combine automation with simplified setup. Connect your store, create your product listings and configure automatic fulfilment — we handle the printing, packing and dropshipping.
How to create wall art: step by step
- Create your free account — it takes less than a minute and you only pay for what you sell.
- Order a sample via the dashboard. First-time sample orders are eligible for 50% off.
- Use the pricing and shipping tool to generate costs for your product listings in just a few clicks.
- Create your product listings using our free photography assets and downloads.
- Connect your store to Prodigi via one of our sales channel integrations, or integrate directly using the print API.
- Prepare your print files following the file setup specifications outlined above.
Ready to get started? Sign up for your free Prodigi account and get 50% off your first sample order today.