Print on demand photo books: Technical specifications & setup guide
Tags
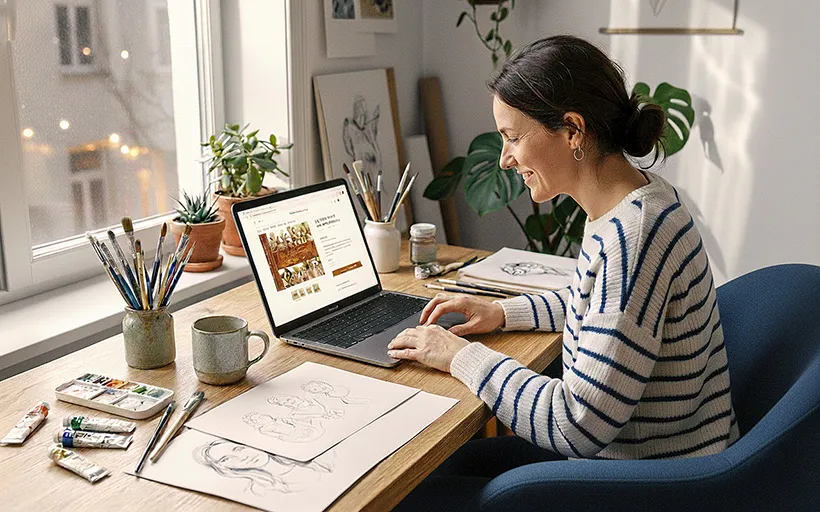
Interested in joining the world's leading print on demand platform?
The global photo book market is projected to reach $4.95 billion by 2032, growing at 5% annually. This growth is driven by rising demand for personalised keepsakes, wedding albums and professional portfolios. For print on demand sellers, photo books represent a high-value product category where technical quality directly impacts customer satisfaction and repeat business.
Whether you're selling photo books online, helping customers create a photo book for special occasions, or offering photo album book services, understanding the specifications ensures professional results.
This guide covers everything you need to know about photo book printing — from choosing between hardcover, softcover and layflat photo books to preparing print-ready files.
Photo books at a glance
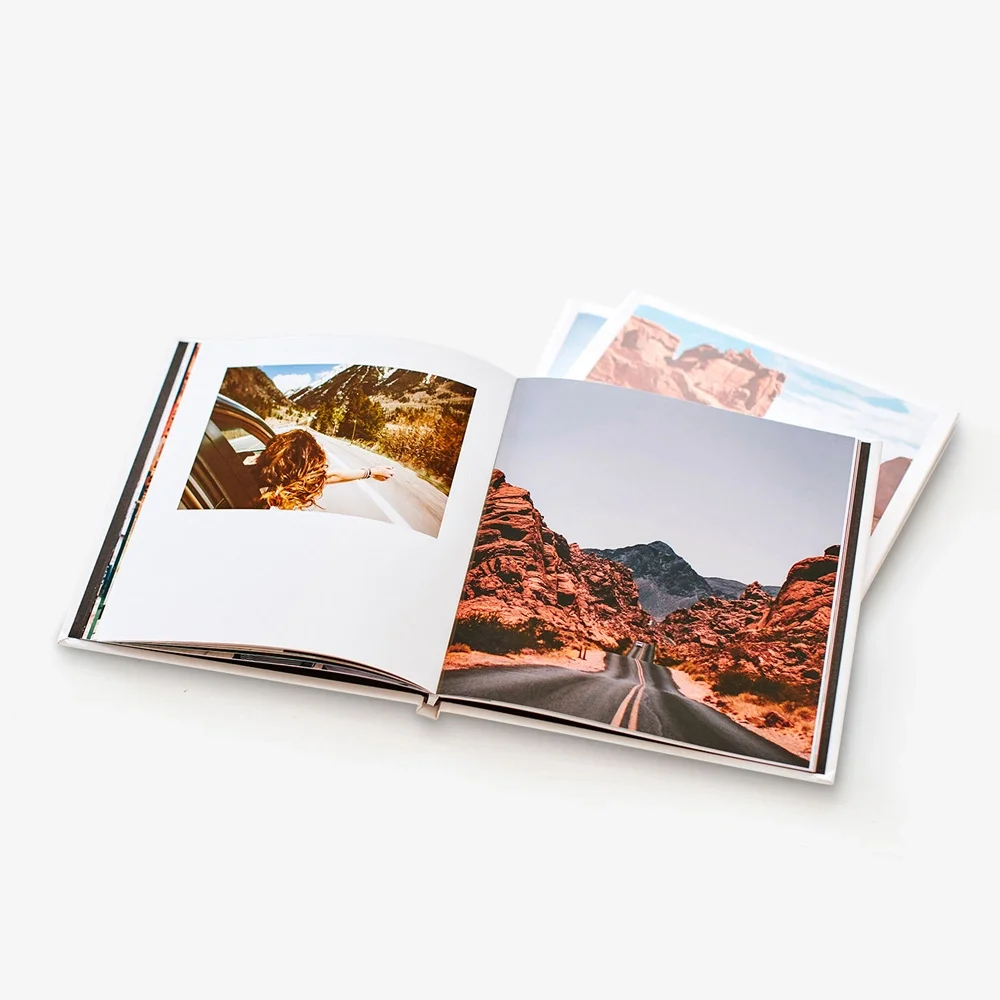
Prodigi offers three photo book formats, each with distinct characteristics. Hardcover books provide durability and professional presentation, softcover books offer flexibility and lighter weight, while layflat books are engineered for seamless panoramic spreads.
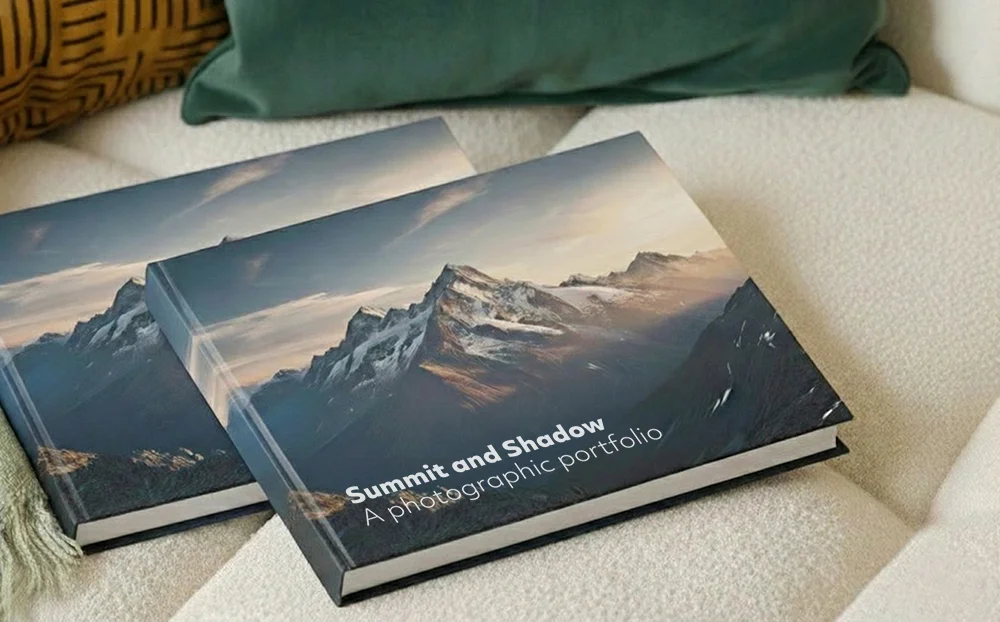
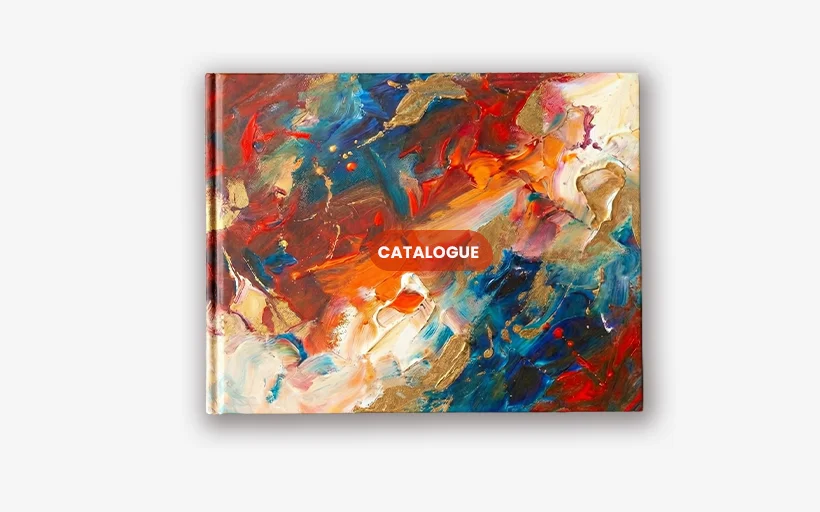
Hardcover photo books

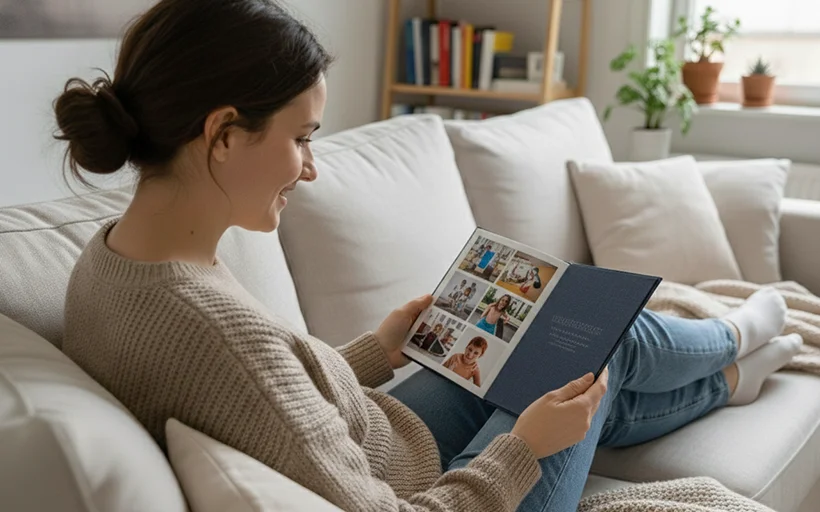
Hardcover photo books combine durability with professional presentation. The rigid exterior protects pages from wear while a printable spine and sturdy construction make them ideal for displaying on shelves, stacking on coffee tables and building permanent collections.
Specifications
- Sizes: 9x9", 9x11", 11x9", 12x12", A4, A5
- Orientations: Portrait, landscape, square
- Pages: 24–300 pages, or 24–500 pages (150gsm gloss only)
- Paper: Gloss (150gsm or 200gsm) or uncoated Mohawk Superfine Eggshell Ultrawhite (120gsm)
- Cover: Matte-laminated
- Binding: PUR — strong and flexible adhesive, 50% stronger than than EVA adhesive
- Spine: Printable
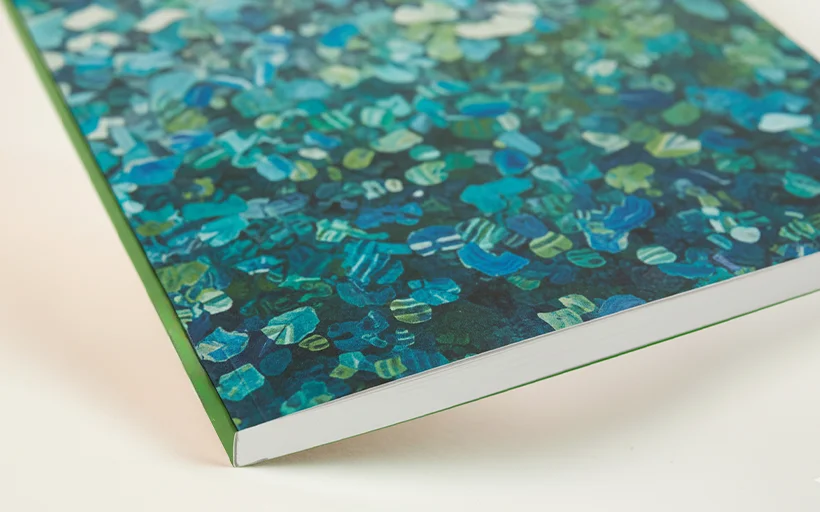
Softcover photo books
Softcover photo books offer a lightweight, cost-effective alternative perfect for magazines, catalogues and portfolio presentations. The flexible cover keeps overall weight down while making pages easy to flick through and comfortable to hold during extended viewing.
Specifications:
- Sizes: 9x9", 9x11", 11x9", 12x12", A4, A5
- Orientations: Portrait, landscape, square
- Pages: 20–300 pages
- Paper: Gloss (150gsm) or uncoated Mohawk Superfine Eggshell Ultrawhite (120gsm)
- Cover: Matte-laminated
- Binding: PUR — strong and flexible adhesive, 50% stronger than than EVA adhesive
- Spine: Printable
Layflat photo books
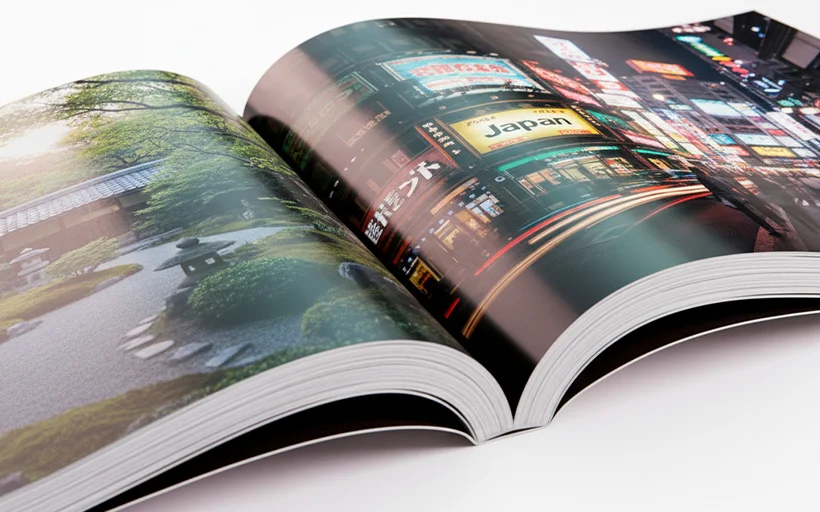
Layflat photo books are designed specifically for displaying seamless panoramic spreads. Pages open completely flat with zero gutter loss, allowing images to flow uninterrupted across double-page spreads — essential for landscape photography, architectural portfolios and wedding albums where breaking images at the spine would compromise impact.
Specifications
- Sizes: 9x9", 12x12", A4
- Orientations: Landscape, square
- Pages: 18–122 pages
- Paper: Gloss-coated E-Photo Lustre (190gsm)
- Cover: Matte-laminated
- Binding: Layflat — specialised construction allows pages to open 180° flat with no gutter loss
- Spine: Printable
Choosing the right photo book format for your project
Different use cases benefit from specific format combinations.
Wedding photo albums
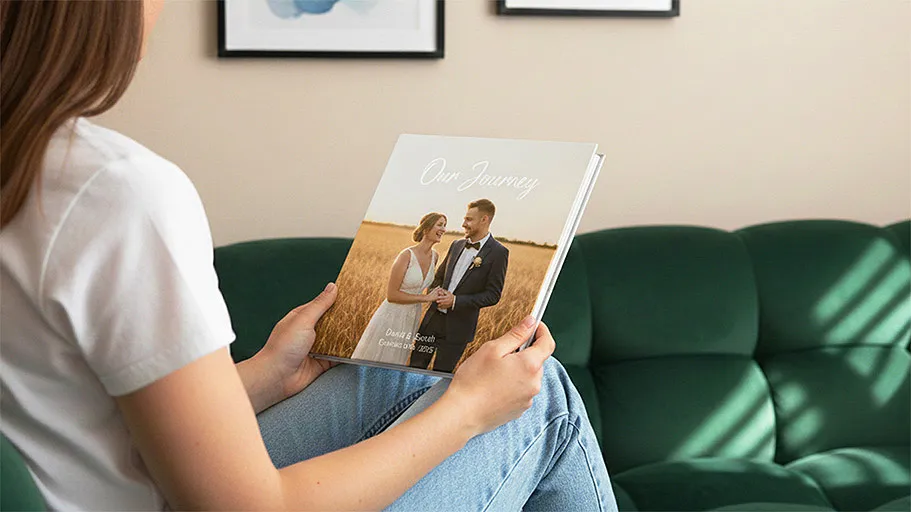
Layflat binding delivers the best results for wedding albums where panoramic spreads showcase venue details and group shots, uninterrupted. Choose the largest size (12x12" square or A4 landscape) for maximum impact.
For budget-conscious clients or secondary albums, hardcover books with gloss paper provide excellent quality at lower cost. The 200gsm paper feels substantial, and the strong PUR binding ensures the album withstands repeated viewing.
Photography portfolios
Hardcover books with gloss paper combine professional presentation with durability. The printable spine makes these books suitable for display on shelves or bookcases. Consider square formats for contemporary presentations or landscape for traditional photography.
Uncoated paper suits fine art photographers whose aesthetic benefits from matte paper. The reduced glare makes portfolios easier to review in bright office or studio environments.
Family photo albums
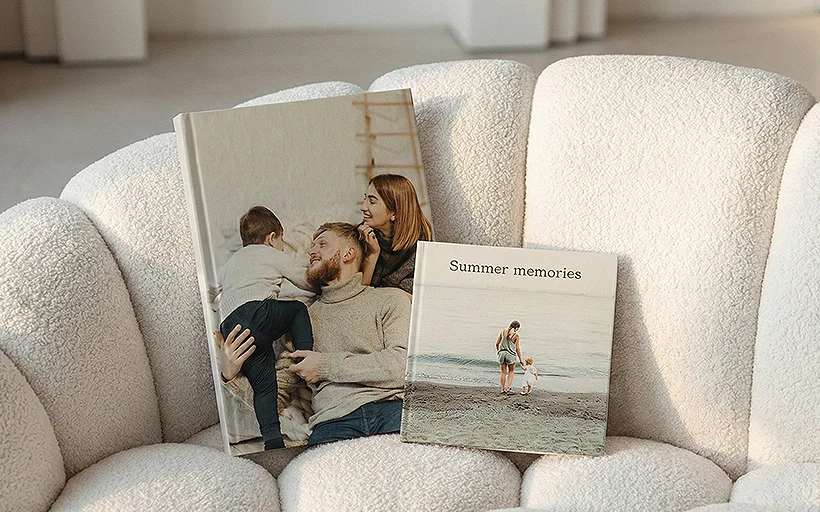
These projects often combine photographs with captions and dates. Uncoated Mohawk paper on hardcover photo books provides comfortable reading whilst still reproducing photographs beautifully. The 120gsm paper accommodates substantial page counts (up to 300 pages) without making books too heavy.
Portrait orientation (A4 portrait at 297x210mm) works well for books with biographical or narrative content.
Product catalogues
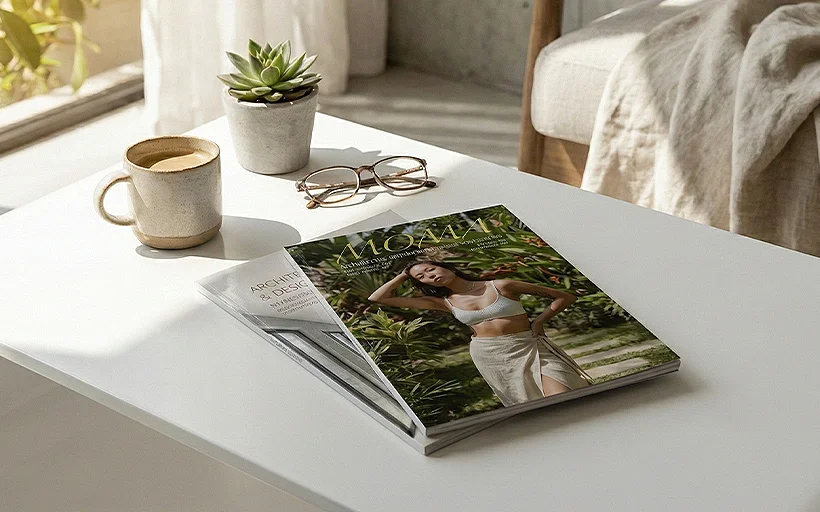
Softcover books deliver catalogue functionality at the most economical price point. The reduced production time (96 hours versus 120 for hardcover) matters when working against trade show deadlines. Gloss paper makes product colours pop, while the lighter weight reduces shipping costs.
Landscape format (A4 landscape) maximises horizontal space for product layouts and lifestyle photography.
Photo book paper options
Paper choice affects how photos reproduce and how your photo album book feels.
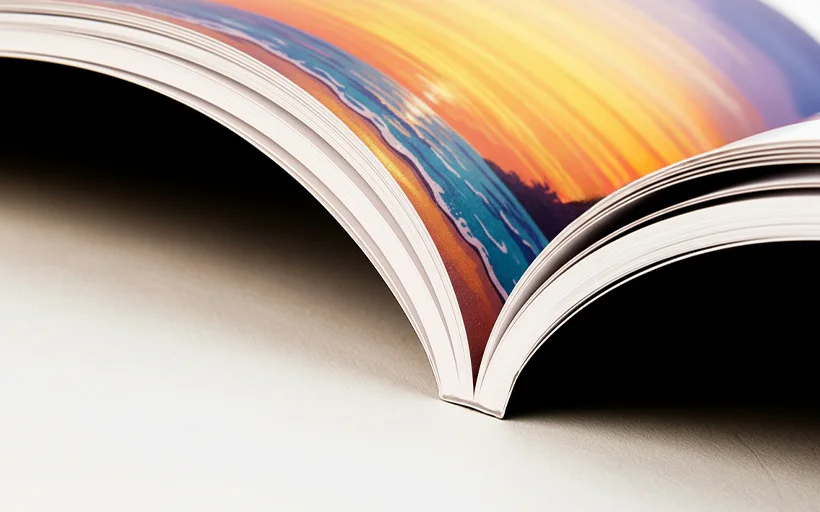
Gloss paper
Gloss paper delivers maximum colour saturation and contrast, making it ideal for photography. The glossy coating enhances vibrancy, deepens blacks and produces sharp detail.
While gloss paper creates reflections under direct light and shows fingerprints more readily than uncoated paper, our matte-laminate covers protect frequently handled areas.
Hardcover books use 200gsm gloss, softcover uses 150gsm and layflat uses 190gsm E-Photo Lustre, which reduces glare compared to full gloss while maintaining excellent colour.
Uncoated Mohawk Superfine Eggshell Ultrawhite
Available for hardcover and softcover books only, uncoated Mohawk paper at 120gsm provides a matte alternative. This paper produces slightly softer colours with reduced contrast — an aesthetic that suits fine art photography, illustrations and text-heavy publications.
The uncoated surface doesn't reflect light, making pages easier to photograph and more comfortable for extended reading. Fingerprints are virtually invisible.
Colour reproduction differs from gloss — blacks appear less deep, colours render with less saturation and details appear slightly softer. This isn't a quality issue but a different aesthetic.
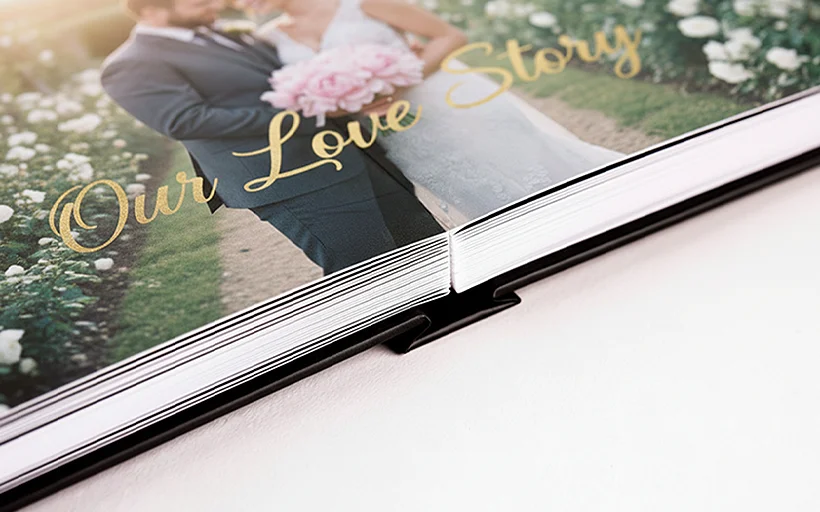
What is PUR binding?

PUR (Polyurethane Reactive) binding is an adhesive binding method that uses polyurethane glue to bond individual sheets together at the spine.
Unlike traditional hot melt adhesives, PUR adhesive cures through a chemical reaction with moisture in the air, creating a bond that's up to 50% stronger than standard EVA (ethylene vinyl acetate) adhesive.
The key advantages of PUR binding for photo book printing are durability and flexibility. Once cured, the bond is strong enough that pages remain secure through repeated use, yet flexible enough to allow books to open relatively flat.
PUR adhesive also withstands temperature extremes without glue failure, and because it uses minimal adhesive, it achieves a clean square spine even on thinner books.
Understanding PUR binding and page counts
All three of our photo album book formats use PUR binding, which affects how you plan your page counts. Understanding this prevents confusion when preparing files.
PUR binding works with single sheets rather than folded signatures. Each sheet has two sides — front and back — which means each sheet creates two pages. This is why photo books require even page counts. An odd number of pages would leave you with a blank back cover.
Individual sheets are milled at the spine, then pressed into polyurethane adhesive that creates a bond up to 50% stronger than conventional adhesive. Because we work with single sheets rather than folded signatures, you can create books with any even page count — you're not restricted to multiples of four.
Need 26 pages? 158 pages? 294 pages? All work with PUR binding, as long as you stay within the format limits (24–500 for hardcover books, 20–300 for softcover books, 18–122 for layflat books).
File setup specifications
Your files need to meet specific technical requirements to ensure they print correctly. These apply across all three formats.
Resolution and colour profiles
Export all files at 300dpi in RGB colour profile. While commercial photo book printing typically uses CMYK, our HP Indigo digital print workflow is optimised for RGB input. The printers handle RGB to CMYK conversion using profiles calibrated for each paper stock, producing better colour reproduction than pre-converted CMYK files. Images below 300dpi will appear soft or pixelated.
Page dimensions and safety margins
Your content pages should match the photo book size exactly. Creating an A4 book? Your content pages should measure 210x297mm. Don't add bleed or crop marks — our system generates these automatically.
Maintain a 10mm safety margin on all sides of every page. This ensures text, logos and important visuals aren't trimmed during production or lost in the gutter where pages meet the spine. The 10mm margin accounts for slight variations in trimming (typically ±1mm) and how pages curve into the binding.
For layflat books, the safety margin rules differ slightly for content pages. The first right-hand page needs a 10mm margin on the top, bottom and right edge, but not on the left inside edge. For spreads, odd-numbered pages need margins on top, bottom and left outside edge, while even-numbered pages need margins on top, bottom and right outside edge. The inside edges don't require margins because layflat binding eliminates gutter loss.
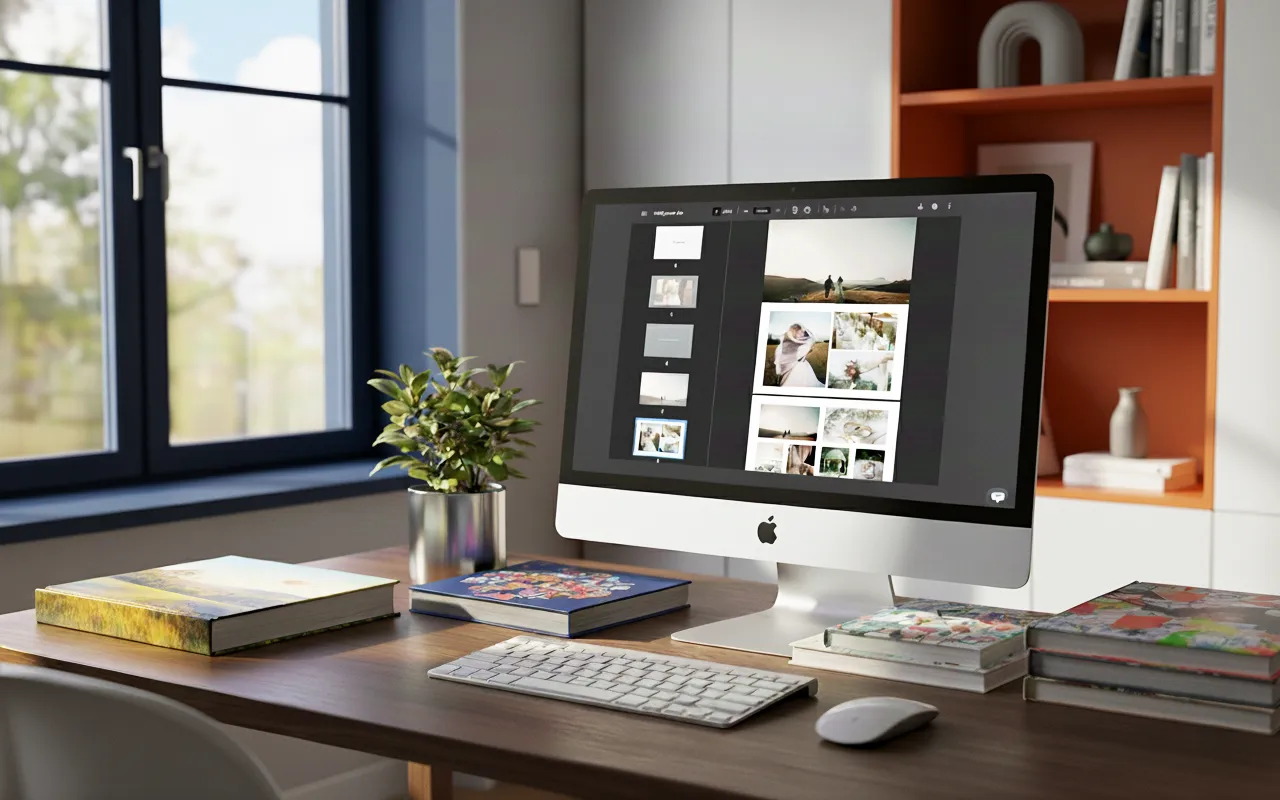
File structure and PDF export
Save your complete photo book as a single PDF with the cover and all content pages as single pages, not spreads. Page order also matters. The first page becomes the front cover, the second page becomes the first right-hand content page and the last page becomes the back cover.
Export using PDF/X-4 profile (coated FOGRA 39). Embed all fonts in the PDF. Missing fonts cause text to reflow with default fonts that might not match your design. Flatten any transparencies before export to prevent rendering issues.
Quick setup checklist
- Export at 300dpi in RGB colour profile
- Match your page size to the book size exactly (no bleed or crop marks needed)
- Keep 10mm safety margin on all sides (except inside edges on layflat spreads)
- Save as one PDF — cover and content as single pages, not spreads
- Export as PDF/X-4 (coated FOGRA 39) with all fonts embedded
- Flatten transparencies before export
How photo album book pages are structured
The way pages are arranged in photo books differs from what many expect, particularly regarding which pages print.
Hardcover and softcover page structure
Your PDF's first page becomes the front cover. Open the book, and the inside front cover appears blank (white) and cannot be printed. Behind that sits a blank binding sheet (front and back) also white and unprintable. These binding sheets are structurally essential for hardcover and softcover books.
Your PDF's second page becomes the first content page, appearing on the right when you open the book. Your PDF's third page becomes the second content page on the left, continuing through the book. Near the end, another blank binding sheet (front and back) appears, followed by the inside back cover (also blank), and finally the back cover as your PDF's last page.
If you supply a 26-page PDF, you get a book where pages 1 (front cover) and 26 (back cover) print as covers, while pages 2-25 print as the 24 content pages inside. The blank binding sheets and inside covers aren't included in your page count.
Layflat page structure
Layflat books follow a simpler structure. Your PDF's first page becomes the front cover. The inside front cover appears blank. Your PDF's second page becomes the first content page on the right. All pages print in sequence until you reach the penultimate page (the last content page), followed by the blank inside back cover and the back cover.
Creating your spine
The spine requires different approaches depending on how you're ordering.
Spine design for manual orders
When placing a manual order, you'll customise the spine directly in the order form. You'll enter spine text (typically the title, author, or both), select a text colour and choose a background colour. The system calculates spine width automatically based on your page count and paper stock.
Ensure your text remains legible at the small size it appears on the spine. Avoid complex fonts with thin strokes that might fill in during printing.
Spine design for API users
API integration requires you to provide spine artwork separately from cover artwork. Spine dimensions vary based on page count and the fulfilment centre that produces your photo album book.
Query our API to receive exact spine dimensions for your project before creating spine artwork. This ensures your design fits correctly. Avoid placing important design elements too close to the spine edges — allow margin for variation in photo book printing and binding.
Common file preparation mistakes
These are the most frequent problems that delay production or require resubmission.
Odd-numbered page counts
Submitting files with odd page counts is the most common error. Your total page count must be even. The system will reject odd-page-count PDFs. If your content ends on an odd-numbered page, add a blank page to reach an even count.
Insufficient safety margins
Text or important elements placed closer than 10mm to any edge risk being trimmed. This won't prevent printing, but you'll receive books with text cut off or images cropped unintentionally. Always check safety margins before export.
Manually adding bleed and crop marks
Our system generates bleed and crop marks automatically. Adding your own causes confusion during processing and may result in marks appearing in the printed book. Simply extend your backgrounds to the page edge and let the system handle the rest.
Designing spreads as single images
For hardcover and softcover books, never create spreads as single images spanning two pages. The binding gutter will hide approximately 6mm of content where pages meet the spine. Design each page independently.
Layflat books eliminate gutter loss, but still save pages separately in your PDF rather than as single spread images.
Using incorrect colour profiles
Submitting CMYK files instead of RGB causes colour shifts. Always work and export in RGB. If your design software defaults to CMYK, manually set the colour space to RGB before starting.
Embedding low-resolution images
Placing 72dpi web images into print layouts creates blurry results. Check every image's resolution before placing it. If you're compiling photo books from client-supplied images, establish minimum resolution requirements upfront.
Ordering and fulfilment
Prodigi supports multiple ordering workflows.
Manual order form
Our manual order form provides a straightforward interface for one-off orders or small batches. Upload your PDF, specify the desired format and paper, customise the spine and submit. This works well for personal projects, client work or testing designs through placing a sample order.
Print API
Our print API enables full dropshipping automation. Your customers order through your platform, and Prodigi automatically receives the file and shipping details, produces the book and ships it directly to your end customer. The API returns spine dimensions based on page count and fulfilment location.
Sales channel integrations
Our direct integrations with Shopify, Etsy, Amazon, TikTok and more combine automation with simplified setup. Simply connect your store, create your product listings and configure automatic fulfilment — we’ll handle the printing, packing and dropshipping.
How to create a photo book online
- Create your free account — it takes less than one minute, and you only pay for what you sell.
- Order a sample through our manual order form. If it’s your first time placing an order for our photo books, we’ll give you a 50% refund.
- Generate pricing and shipping information in just a few clicks with our pricing and shipping tool. Prodigi Pro users get 10% off product pricing.
- Create your product listings using our free photography assets.
- Connect your store to Prodigi if selling through one of our sales channel integrations. If you’re planning on integrating with our print API, please refer to our API documentation.
- Prepare your print files following the step-by-step instructions in our print file guides.
Summary
Creating professional photo books online is straightforward once you understand the fundamentals. Choose the right format for your project — hardcover for lasting keepsakes, softcover for flexible catalogues, or layflat for panoramic spreads. Follow our file preparation guidelines for optimal print quality, and you'll deliver photo books that exceed customer expectations.
Ready to get started? Sign up for a free Prodigi account and get 50% off your first sample order.